


Station 136 is popular for one simple reason: it’s short, straightforward, and solo-friendly, with no puzzles, traps, or awkward navigation. Most of the danger comes from flamethrower enemies and the final boss’s “don’t-stop-moving” mechanics especially in the last phase.
Estimated time: ~20–25 minutes
Overall difficulty: Easy–Medium
Core challenge: 2 lock-ins + final boss
Quick Links
- Testing Station 136 Layout Overview
- Prep Checklist (Solo-friendly)
- Walkthrough: Section 1 (First Lock-in)
- Walkthrough: Section 2 (Second Lock-in)
- Boss Guide: Masano the Burned (Phase 1–4)
- Loot Notes (what this station is good for)
Testing Station 136 Layout Overview
Testing Station 136 has one of the shortest and simplest layouts of the Chapter 3 Challenge stations:
- Direct corridors
- Two lock-in arenas
- Final boss room
There are no traps, no puzzles, and no non-combat “gotcha” mechanics—making it an excellent option if you want consistent clears or you’re learning Challenge Mode progression.
Preparing for Testing Station 136 (Fire)
Even though it’s considered easy to clear solo, bring a setup that makes the final phase consistent—especially if you’re pushing higher difficulties.
Must-have items
- Responsive Planar Suspensor Belt (huge for Phase 4)
- Bandages and/or Medkits (you’ll find some inside, but don’t rely on it)
- Gear with decent durability (flame pressure and attrition add up)
- Enough water in your Literjon to stay optimally hydrated (stamina helps a lot)
- Cutteray (for optional loot rooms)
Nice-to-have for high difficulty
- Forge armor set (for fire mitigation)
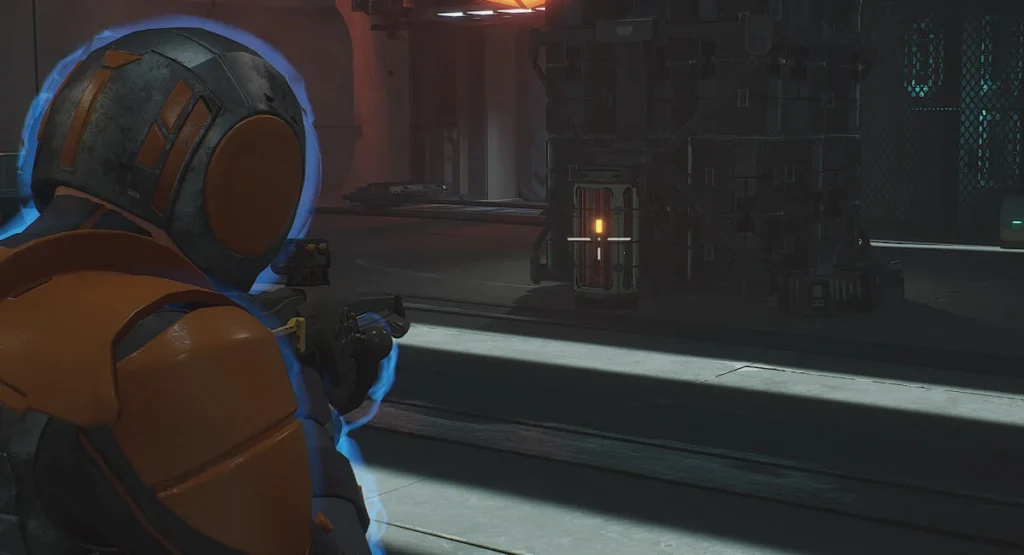
Walkthrough — Section 1 (Up to and including First Lock-in)
- Head down the stairs
- Move through the corridor and continue right at the end
- When you see fiery wreckage on the ground, turn left
- Suspensor-jump over the wreckage and proceed to the first lock-in
Lock-in Room 1: Wave notes
This encounter is short and simple:
- On entry: a group of three (typically 1 melee, 1 unshielded trooper, 1 heavy flamethrower)
- Then two additional waves of similar enemy makeup
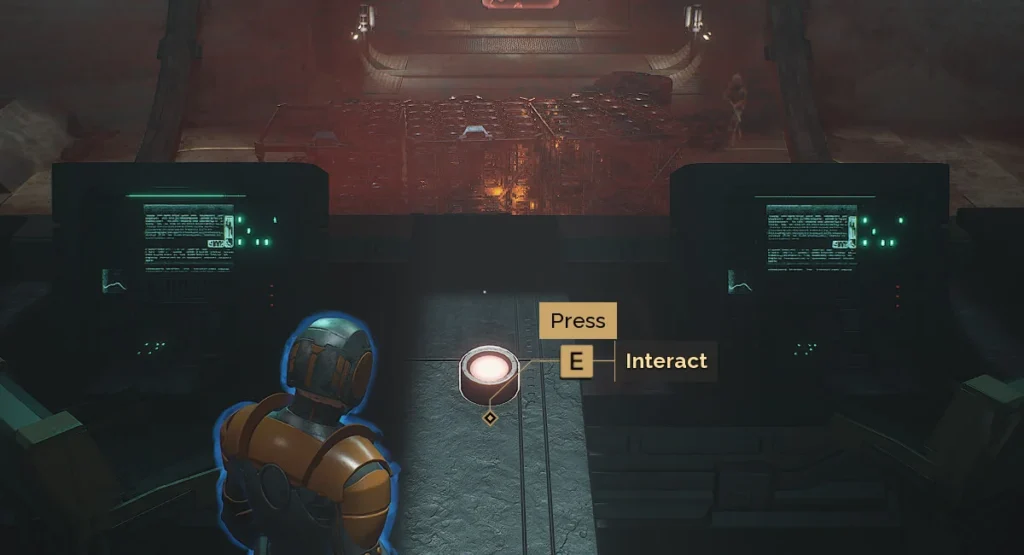
Environmental advantage: the room is large and filled with explosive canisters. They can wipe clusters fast, but the blast radius is huge—use them at range.
Optional interactions in Room 1
- Red button between two consoles (left side): blows up crates in the next lock-in room. Mostly for fun; don’t expect a massive advantage.
- Cutteray-locked door (right of entry): contains multiple chests with strong materials/resources.
When you’re done, go through the now-unlocked shield door opposite the entry and head downstairs toward lock-in #2.
Walkthrough — Section 2 (Up to and including Second Lock-in)
Lock-in #2 is slightly longer, but not harder—just more waves.
Lock-in Room 2: Wave pattern
You’ll usually see something close to:
- Start: 2 enemies
- Then waves like 3, 3, 2, 3 (a steady stream rather than a spike)
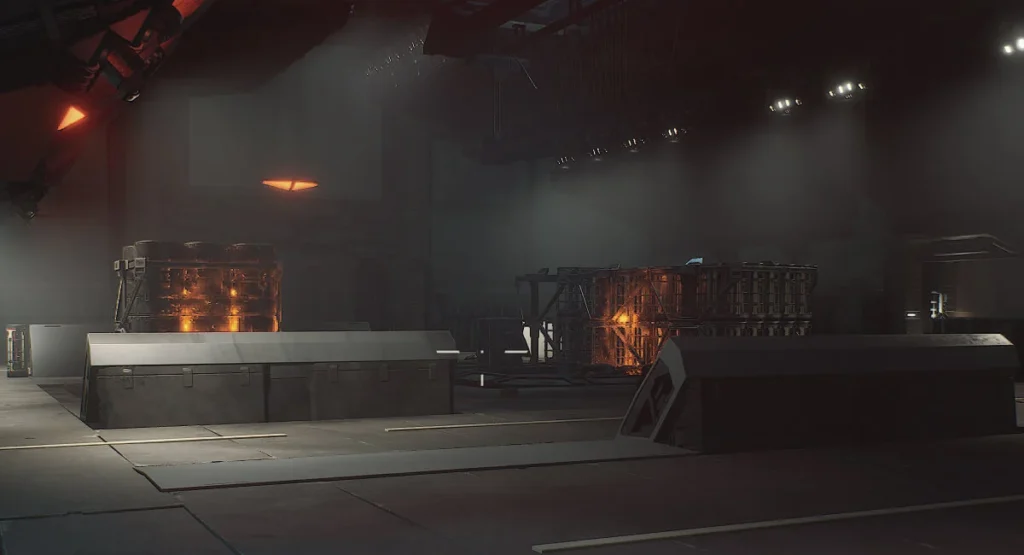
Again, the room has:
- Lots of space
- Explosive canisters for environmental damage
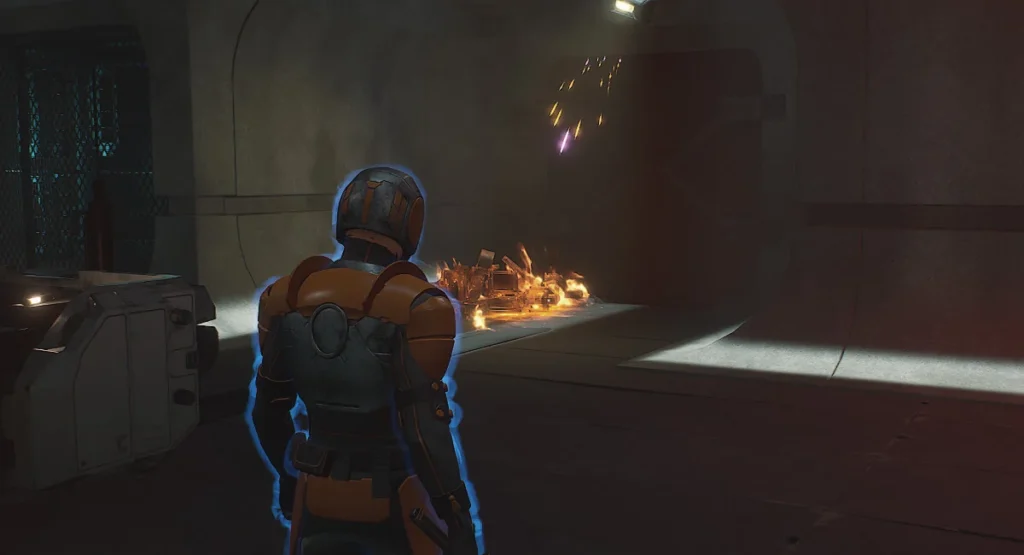
Important tip: Heavy flamethrower enemies often start “spraying” even when they’re out of effective range. When they do, they can expose themselves—making them easier to punish with ranged damage.
Optional loot
After the waves, there’s an additional Cutteray-locked door at the back with more:
- Materials
- Ammo
- Healing supplies
When ready, proceed through the unlocked shield door on the right side (from entry). Now it’s boss time.
Boss Guide — Masano the Burned (Testing Station 136)
Overview
Masano the Burned is mechanically simple compared to some other Testing Station bosses, but still punishes mistakes especially on higher difficulties. The entire fight rewards one habit:

Keep moving.
If you stand still, you’re gambling.
Phase 1: Basic Abilities (Fireball salvos)
In Phase 1, Masano mainly throws fireballs:
- Slow enough to dodge
- Fast enough that you should stay in motion
- Fired in salvos of roughly 3–5 shots
How to play it:
- Strafe/run to avoid hits
- Push damage when she’s reloading between salvos
Phase 2: Death From Above (+ adds)
Masano takes to the air and unloads a rapid sequence of fireballs (often described as ~20).
Counter:
- Run the perimeter of the room continuously to avoid the entire mechanic
- Audio cue: listen for the clicking associated with each fireball
Adds:
- A shielded melee add spawns
Deal with it as soon as you have a safe window—don’t let it stack pressure while you’re dodging aerial fire.
Phase 3: Homing Fireball (+ adds)
Phase 3 repeats Phase 2 but adds a new threat:
Homing Fireball
- A tracking projectile that follows you and detonates on contact
Counter:
- Shoot it down immediately after launch
There’s typically a voice line/animation cue—train yourself to look for it and react fast.
Adds:
- Another shielded melee add appears
Clear it quickly so you’re not getting boxed in while watching for the homing projectile.
Phase 4: Floor Is Lava (key survival phase)
Phase 4 includes everything above and adds:
Floor Is Lava
- Masano ignites the entire room
- You must get off the ground and stay airborne until it dissipates
Best tool: Responsive Planar Suspensor Belt
- Lets you hover above the burning floor
- You still need to dodge fireballs and manage spacing while airborne—don’t tunnel vision on “just floating”
Good news: no additional adds spawn here.
So it’s mostly a repeat of your Phase 2–3 discipline: keep moving, shoot down homing threats, punish reload windows.
Loot Notes (what Station 136 is best for)
Because Station 136 is:
- short,
- easy to navigate,
- and solo-consistent,
…it’s often a strong choice when you want repeatable Challenge Mode clears without losing time to route learning. If you’re farming progression tied to Testing Station clears, this is one of the better “comfort stations” to run repeatedly once your build is stable.