

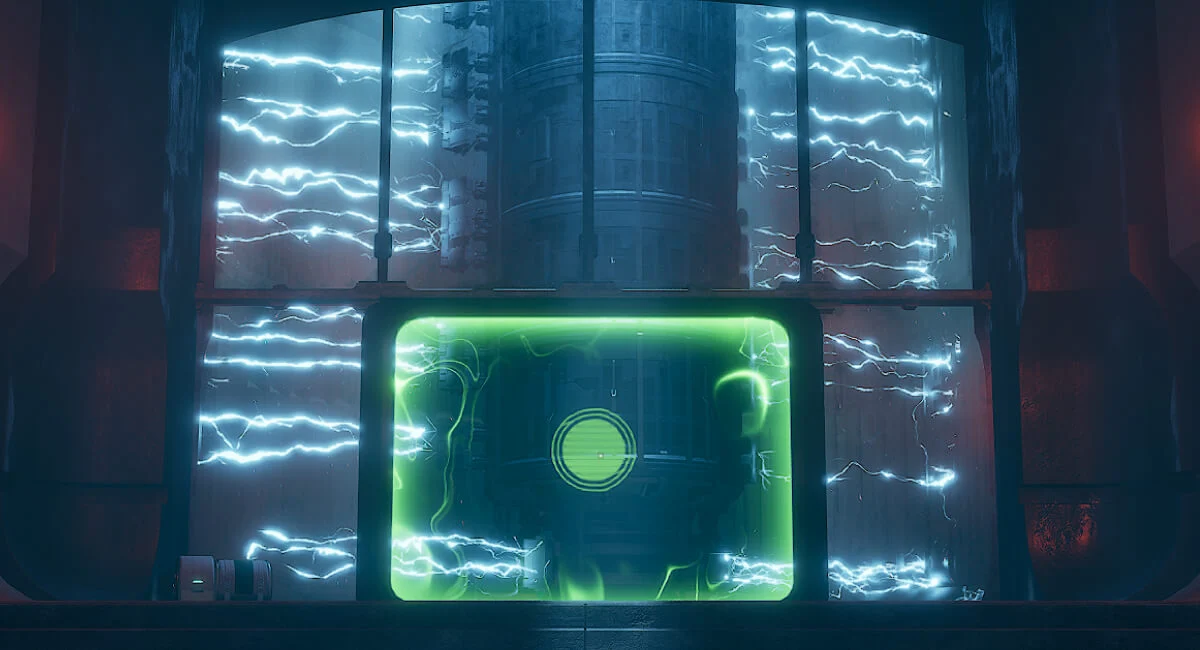
Station 152 is generally shorter and cleaner than the “hard-wall” stations (like Radiation/Poison), but it has a very specific danger profile: electric traps and boss abilities can delete you instantly on higher difficulties if you get caught at the wrong time.
Estimated time: ~15–20 minutes
Overall difficulty: Medium
Core challenge: 2 easy lock-ins + boss
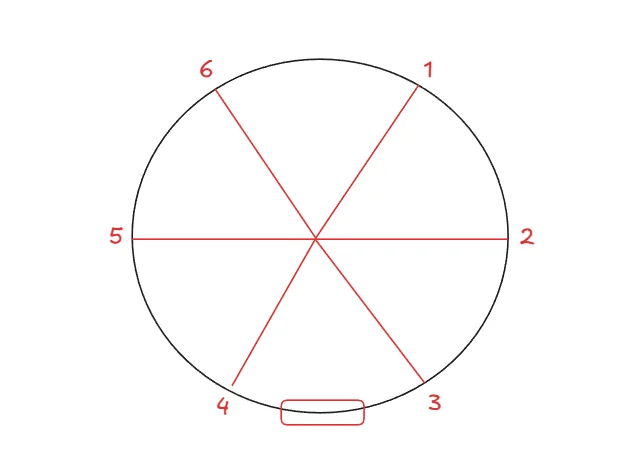
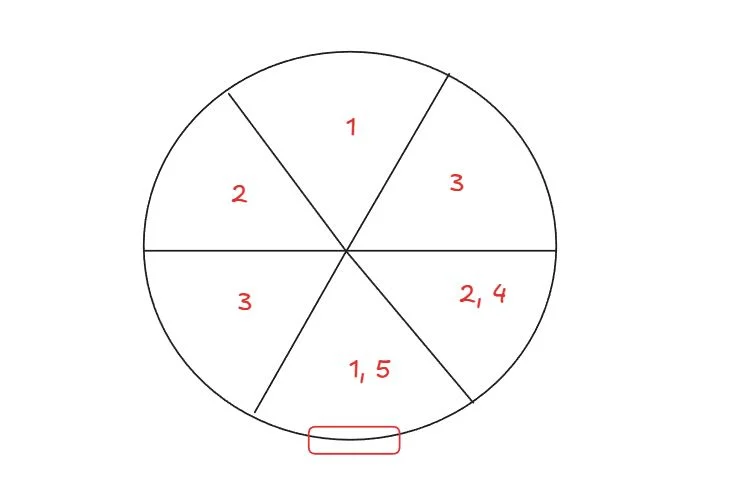
Testing Station 152 Layout Overview
Testing Station 152 follows a simple structure:
- Entry corridors with electric trap lanes
- Lock-in Room 1 (easy)
- More trap navigation
- Lock-in Room 2 (easy)
- Final corridor → Boss Room
The station’s main “mechanic” is movement discipline: don’t rush blindly into trap zones, and don’t fight enemies while standing inside danger tiles.
Preparing for Testing Station 152 (Lightning)
Station 152 doesn’t demand extreme consumables like Radiation/Poison, but you want a setup that prevents “random” deaths.
Recommended prep
- Bandages/Medkits (always)
- Gear with solid durability (fast runs still wear items down)
- Enough water for optimal hydration (stamina = safer trap timing)
- A reliable ranged option (important for the boss and for safely clearing enemies without stepping into trap zones)
High-difficulty mindset
On high difficulties, assume:
- If you get caught in electric CC or a boss electric pattern, you may go down instantly.
So your entire run should prioritize positioning > DPS.
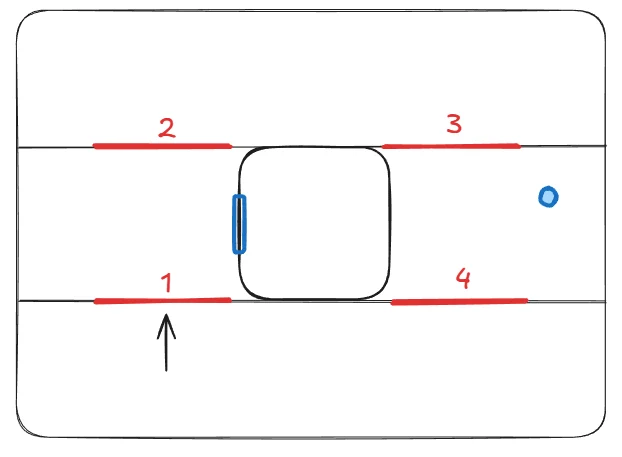
Walkthrough — Traps and Lock-ins
Because your text doesn’t include the exact room-by-room trap layout, here’s the most useful “universal” route logic for Lightning stations: treat every trap corridor like a timing puzzle and clear safely, not fast.

Core trap rules (don’t die to the floor)
- Pause at the threshold of each trap lane and watch one full cycle.
- Move only when you can cross the next safe segment in one clean burst.
- If enemies are present, pull them back into a safe area rather than fighting inside the trap lane.
- Use ranged damage to reduce “panic movement” (panic movement gets you clipped).
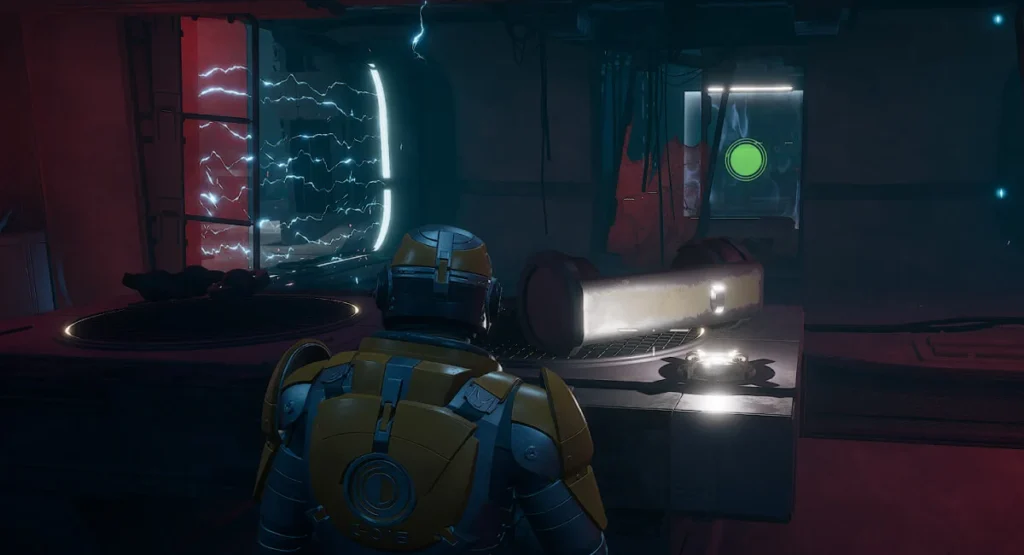
Lock-in Room 1 (easy)
Your first lock-in is designed as a warm-up:
- Keep distance
- Clear systematically
- Avoid drifting into trap-adjacent tiles if the room borders hazard zones
After it unlocks, reset: heal, hydrate, reload, then move on.
Lock-in Room 2 (easy)
Similar to lock-in #1:
- Don’t greed
- Don’t chase enemies into trap lanes
- Save burst DPS for when targets commit to you in safe space
Once cleared, you’ll move through the final corridor into the boss arena.
Boss Guide — Electric Boss Strategy (how not to get one-shot)
Your description frames the boss as the real threat—especially on high difficulties—because any electric ability that catches you can down you instantly.
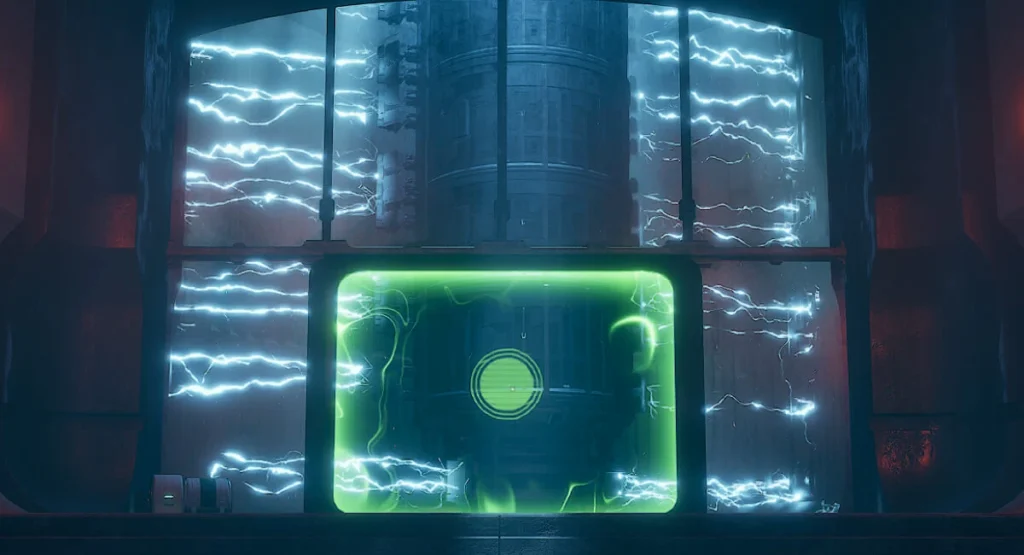
Even without the boss’s name and full move list, the winning plan against “electric one-shot” bosses is consistent:
The winning plan
1) Play at range
Most electric “down you instantly” mechanics punish close-range greed. Keep a long lane so you can react and sidestep instead of needing perfect parries.
2) Never stop moving—but move deliberately
You want constant micro-strafing so slow projectiles and line attacks miss, but you don’t want erratic sprinting that pushes you into hazard zones.
3) Treat every cast like a lethal threat
If you see a wind-up animation, sound cue, or ground telegraph:
- break line,
- dash to a safe lane,
- then re-engage after the pattern resolves.
4) Don’t stack damage windows
High difficulty usually means the boss rotates lethal patterns faster. Take small, consistent damage windows instead of committing to long burst phases that leave you stuck in reload/animation lock.
5) Reset the arena when things get messy
If adds spawn (common in Challenge bosses), clear them immediately if they threaten your movement routes. Electric bosses kill you when you lose control of space.
Loot Notes (why run Station 152)
Station 152 is attractive because it’s:
- short,
- predictable once you learn trap timing,
- and less “attrition-based” than Poison/Radiation.
It becomes a strong option for repeat clears if you respect the boss’s one-shot potential and avoid trap deaths.