


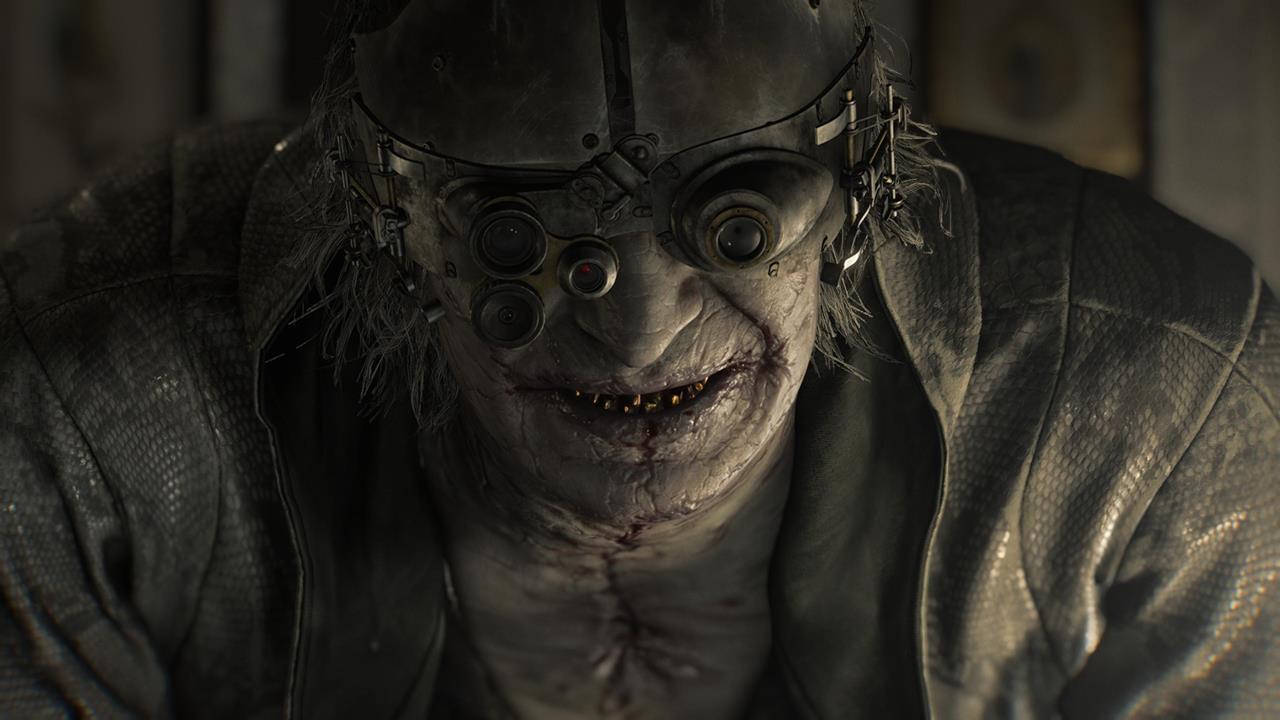

⚠️ Heavy spoilers throughout. This guide covers the full campaign including the ARK endgame sequence. If you’re mid-playthrough and want to stay blind on specific fights, jump directly to the section you need using the headers below.
Special Infected — What They Are and Why They Matter
Before getting into the actual bosses, it’s worth understanding the special infected that populate RE Requiem’s world. These aren’t just cosmetic variants — each type changes how you approach basic combat encounters and resource management.
Blister Heads — The Mutation Problem
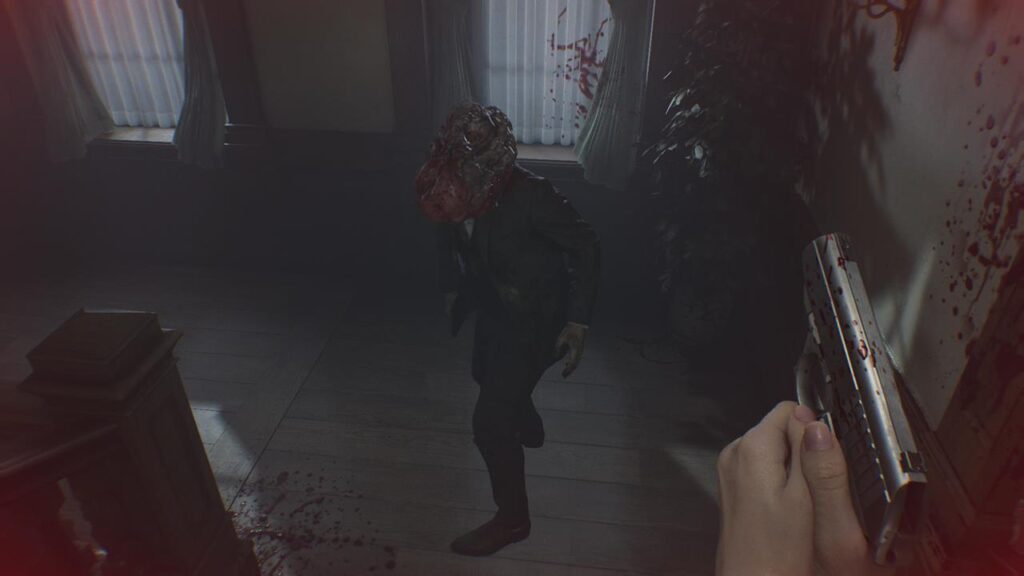
Blister Heads are what happen when you don’t finish the job. Any standard zombie you kill can reanimate later in the campaign as a Blister Head — faster, more erratic, and hitting significantly harder than their base form.
The fix is simple in theory, brutal in execution: destroy the head or the entire body before moving on.
| Method | How It Works | Character |
|---|---|---|
| Hemolytic Injector | Inject a zombie to trigger internal explosion | Grace |
| Leon’s Hatchet | Roundhouse kick staggers enemy into a kneeling position, then decapitate | Leon |
| High-caliber weapons | Requiem pistol or Sniper Rifle — one headshot, problem solved | Both |
❌ Common mistake: Players conserve ammo by body-shooting zombies and leaving them down. That’s not dead — that’s a timer. Always confirm the kill.
Singers — More Annoying Than Dangerous
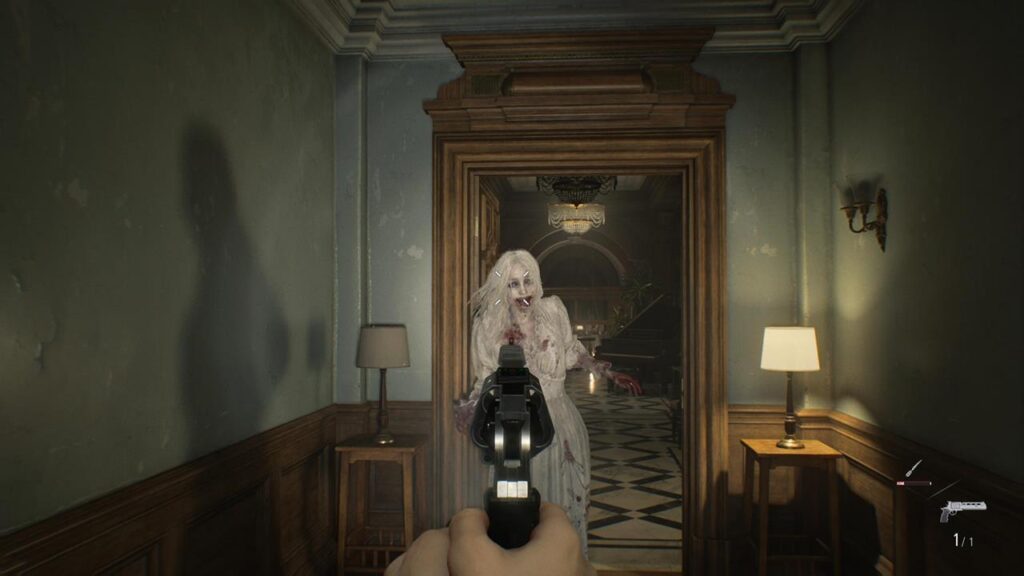
Singers screech periodically, which disrupts your aim and disorientation stacks quickly if you’re in a room with multiples. They’re not dramatically tougher than regular infected, but they take more punishment before going down.
💡 Pro tip: Prioritize Singers the moment you hear them vocalize. Their scream debuff during a tense moment — like a chase sequence or a limited-ammo segment — will cost you more than the bullets it takes to drop them early.
Chainsaw Charlies — Respect the Saw
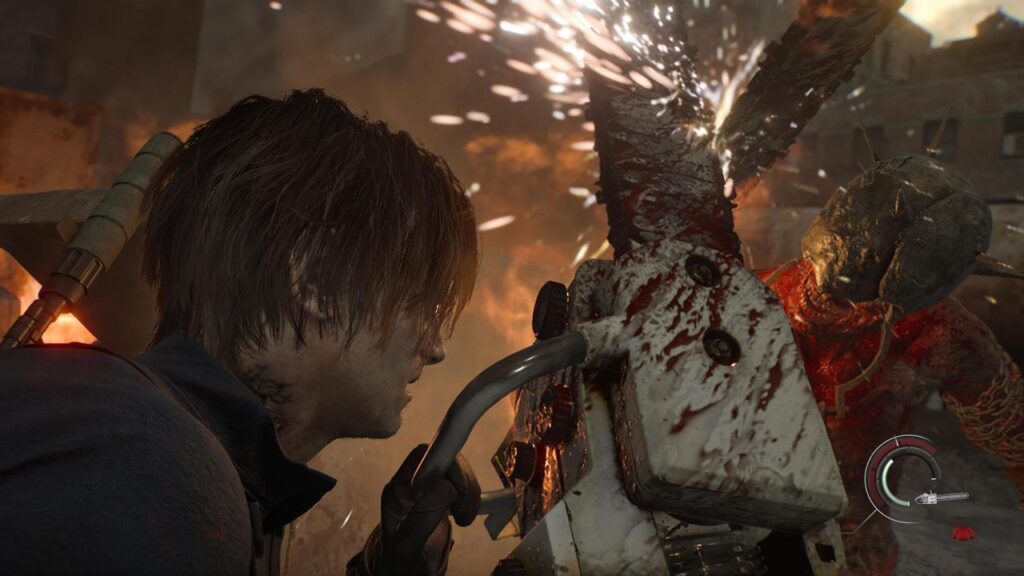
Chainsaw Charlies are legitimately dangerous. Leon is the primary character who encounters them, and there are multiple ways they can end a run:
- A clean swipe goes shoulder to torso — you don’t want to see that animation twice
- A zombie with a chainsaw lodged in its belly will actively try to ram and impale Leon
- Downed Chainsaw Charlies can still kill you — the saw keeps spinning even while they’re prone
- A dropped chainsaw that’s still revved up remains a damage source if you step into it
Maintain distance. Shotgun blasts to the body are your most reliable solution.
Garmr — The On-Rails Section
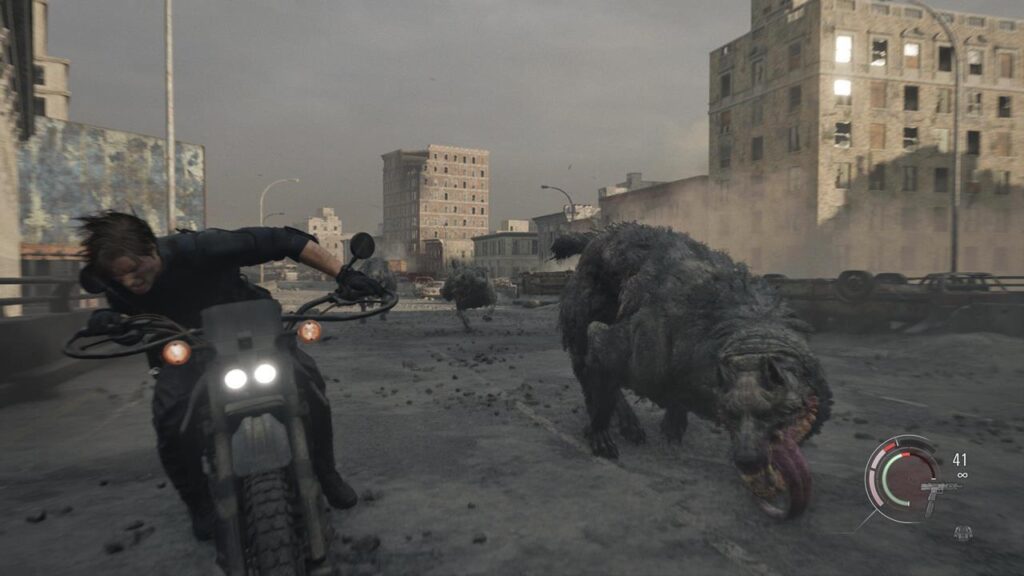
Garmr are the evolved descendants of the classic Cerberus enemy — bigger, faster, and significantly less pleasant. Leon encounters them during a high-speed section of the campaign that plays out similarly to an on-rails shooter. He’s armed with a submachine gun and the goal is attrition — keep firing, prioritize the closest threats, and don’t let them reach the vehicle.
Lickers — Old Enemy, Same Tricks
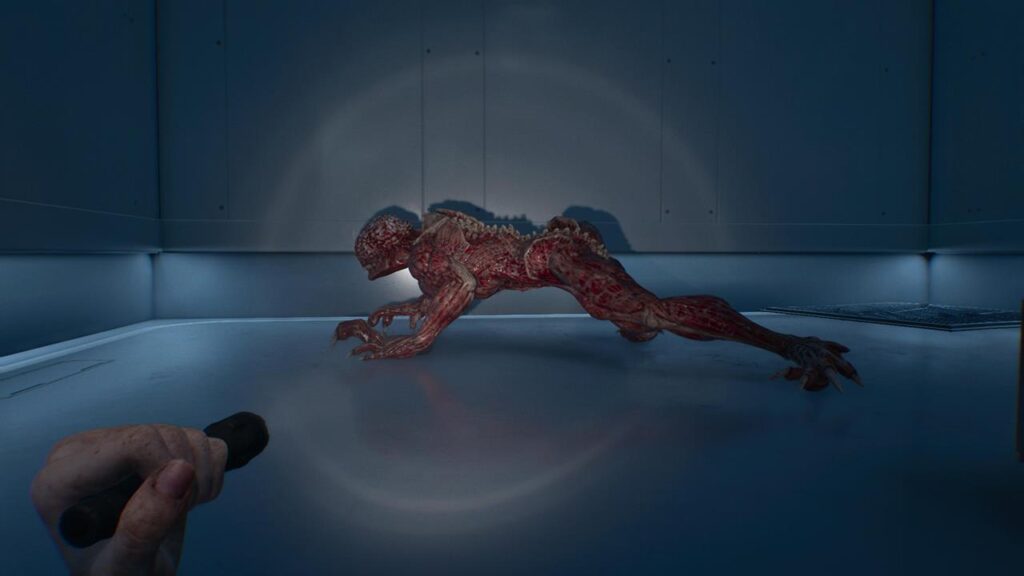
Lickers return from franchise history with their signature wall-crawling and floor-hugging movement intact. Two attack types define this encounter:
- Leap attack — counterable with a Knife or Hatchet
- Tongue lash — parryable with the Hatchet; successfully doing so completes the “Cat Got Your Tongue” challenge
Keep your Hatchet ready and don’t back yourself into corners. They’re fast on open ground.
Main Bosses — Full Breakdown
The Girl — Light Is Your Only Weapon
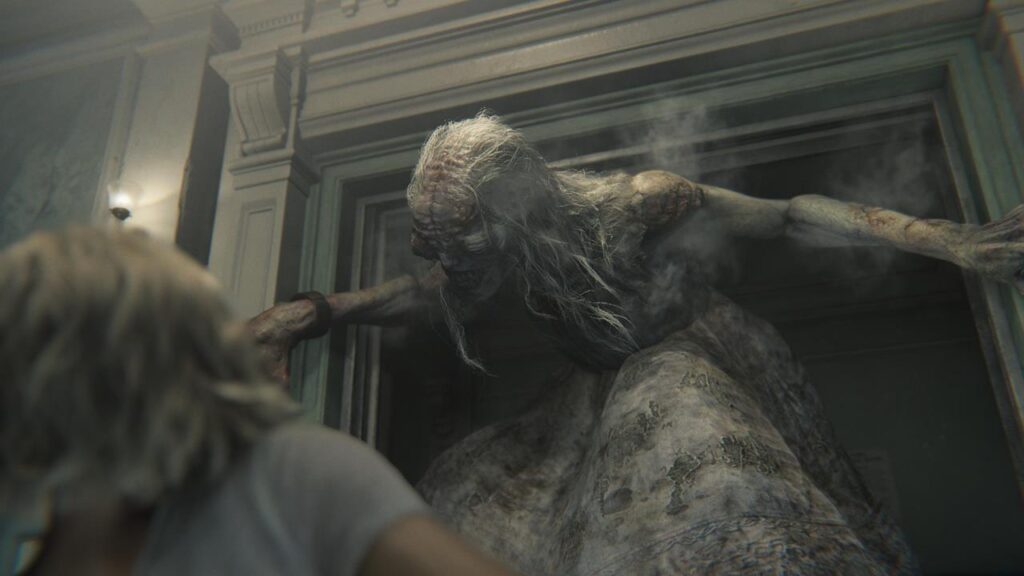
Encountered by: Grace Locations: Care Center Nurse’s Station, Care Center Basement, Water Treatment Facility
The Girl is less a traditional boss and more a persistent threat that stalks Grace across multiple areas. She drops from ceiling openings, disappears into darkness, and her presence fundamentally changes how you move through each space.
Core rule: Reach a well-lit room. Light burns her skin and forces her to retreat.
The final confrontation happens at the Water Treatment Facility and it’s the only chance to permanently eliminate her:
- Restart all three power distribution units — industrial work lights are your tools for keeping her at bay; the Requiem pistol can also stun her mid-chase
- Take the elevator up and activate the work light at the top — this freezes her completely
- Open the shutter via the button prompt
- Whether you shoot her or not at this point is irrelevant — the outcome is the same
💡 On the earlier encounters: Don’t try to fight her. The moment you see her, your objective is a lit room, not a kill. Fighting her without the environmental setup wastes resources.
Chunk — Two Brothers, Two Characters, Same Problem
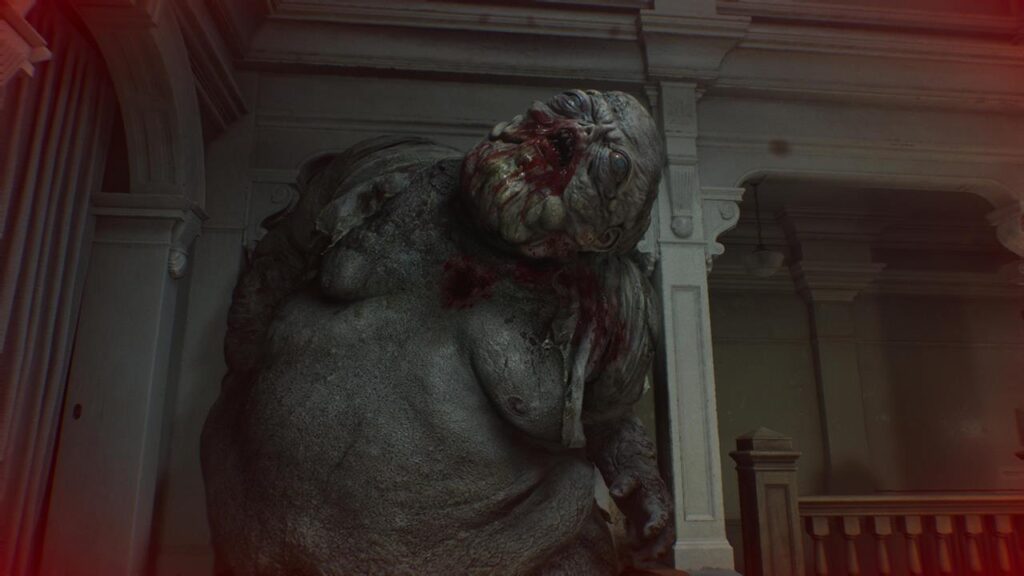
Encountered by: Grace (Care Center), Leon (Attic) Key reward: Grace and Goliath challenge completion + Eye Spy charm
Chunk looks slow. Chunk is not slow. These mutated brothers can compress their bulk through corridors that have no business fitting something their size, and they’ll bulldoze any infected in their path to get to you.
As Grace — Care Center:
- Lure Chunk toward a section he physically can’t pass through — the Level 2 corridor to the Isolation Ward is the intended choke point
- Clear surrounding infected first; you don’t want distractions
- Once he’s stuck, unload Requiem shots to the head until he’s finished
- This fight completes “Grace and Goliath” and drops the Eye Spy charm (increases your chance of surviving fatal damage — one of the more impactful early charms)
As Leon — Attic:
- The space is cramped but the verticality works in your favor — ladders and elevated platforms break his pathing
- Environmental objects can be used to physically block his routes
- The MSBG 500 Shotgun becomes available around this point — use it; close-range blasts to the head are the most efficient solution
📊 Important mechanic: If you kill Chunk as Grace, loot the Eye Spy charm, then reload an earlier save — the charm persists in your item box. Re-killing Chunk after that drops 4x Antique Coins instead, since the charm reward has already been claimed. This is intentional game behavior, not a glitch.
Blister Borne — Shoot the Tumors, Not the Body
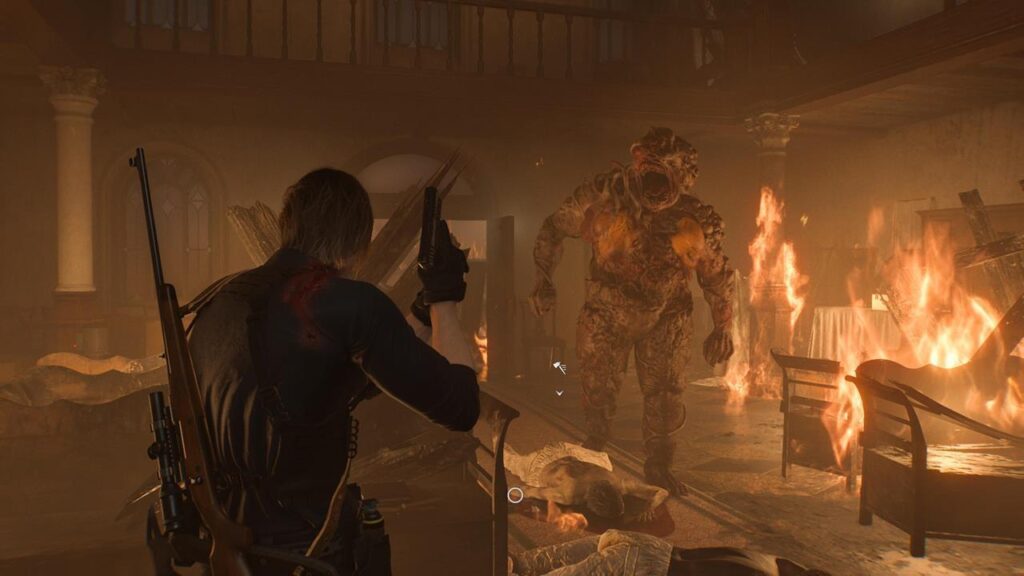
Encountered by: Leon Locations: Care Center Chapel, East Raccoon City Sewage Facility
The Blister Borne is a tank. Direct body shots accomplish very little — the damage priority is the tumor clusters covering its exterior.
- Shotgun blasts are the most reliable tool for rupturing tumors at range
- If you manage to stagger it, a melee strike pops tumors manually and conserves ammo
- ⚠️ The tumors emit toxins on destruction — nearby downed zombies will immediately reanimate and mutate into Blister Heads when a tumor bursts
Tactical approach: Before engaging, clear the room of as many standard infected as possible. Then lure the Blister Borne away from any remaining bodies before destroying tumors. Fighting this enemy in a crowded room is a spiral you don’t want to be in.
Titan Spinner — Keep Moving, Shoot the Tanks
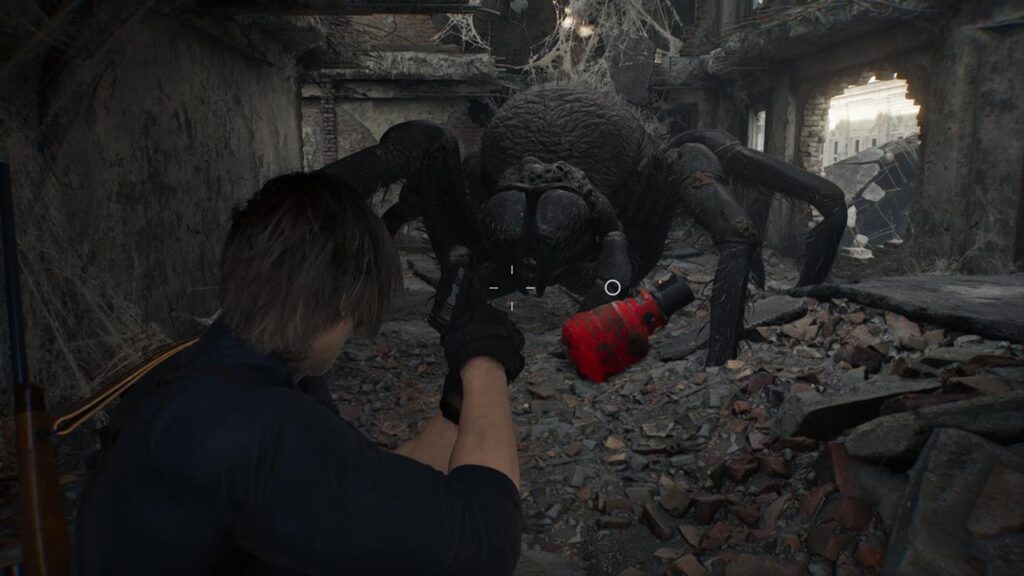
Encountered by: Leon Location: NF Building, East Raccoon City
The Titan Spinner is a giant spider that punishes stationary play. The core rule here is simple: stay mobile at all costs.
Two specific mechanics define this fight:
- Wall traversal: The Titan Spinner periodically vanishes from the ground, climbs the walls, and re-emerges from a completely different angle. Track its audio cues to anticipate the reappearance location.
- Spiderling swarms: The boss summons small Spiderlings that can be cleared efficiently with Hatchet swipes. The danger is letting them reach Leon’s face — once they attach, he’s briefly immobilized, which is when the Titan Spinner closes distance.
Fuel tanks scattered around the arena can be shot to create area damage bursts when the boss gets uncomfortably close. Use them as breathing room, not a primary damage source.
Mr. X / Super Tyrant — Old Nemesis, New Rules
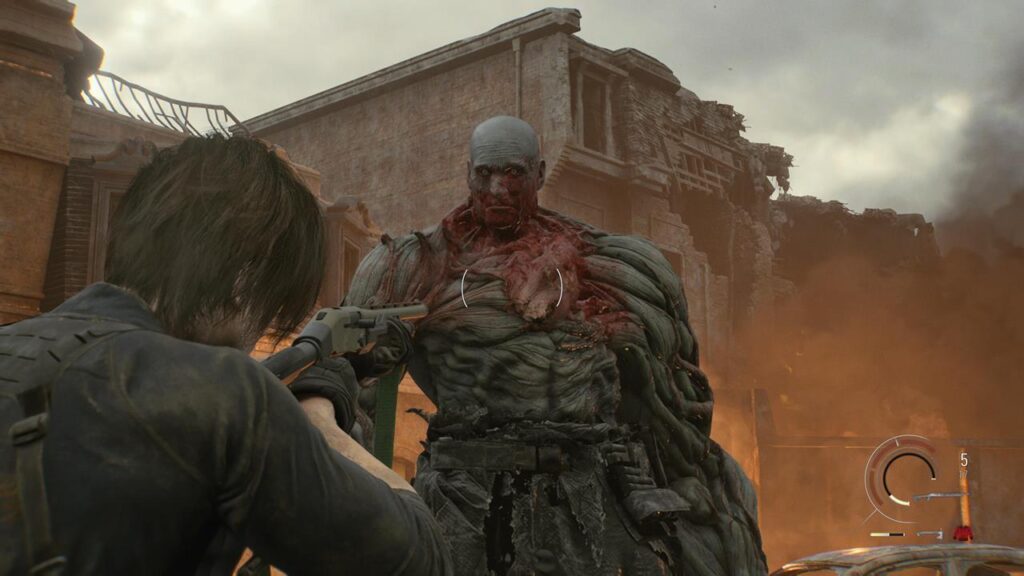
Encountered by: Leon Location: Raccoon Police Department (RPD) and exterior
The first phase inside RPD is not a fight — it’s a survival sequence. Your job is to reach the second floor while avoiding Mr. X. When he pulls a helicopter tail, reverse course immediately and find the path to the second-floor balcony.
The actual boss battle opens up outside RPD in an open plaza:
| Attack | Counter |
|---|---|
| Rush charge | Parry with Hatchet — blade durability matters, sharpen proactively |
| Vehicle throw | Move the moment he approaches any car — the toss is fast |
| Standing attack pattern | Keep distance and target the exposed heart on his chest |
The exposed heart is your exclusive damage target for the duration of the fight. Everything else is survivability management.
Plant 43 — Three Targets, Timed Window
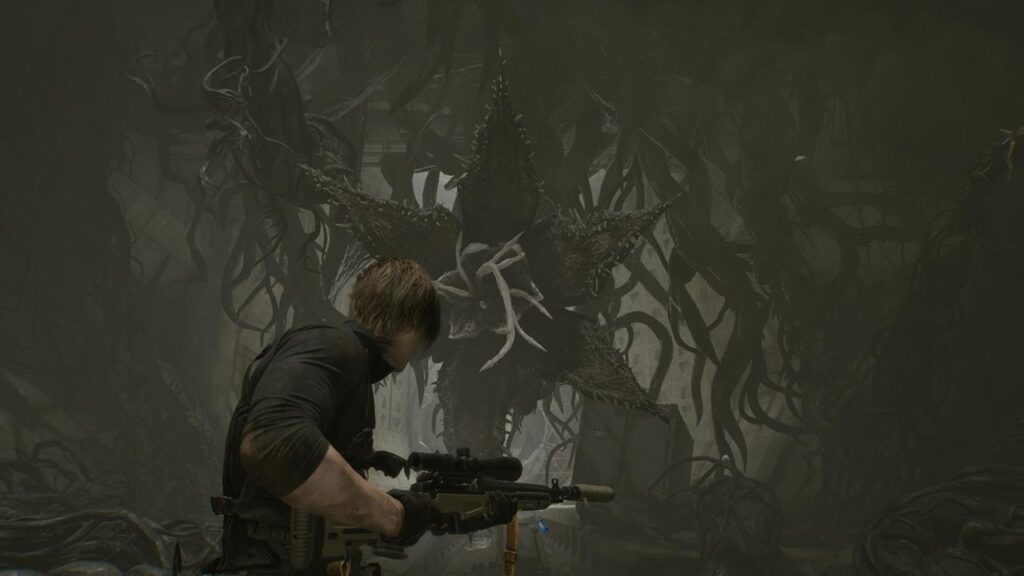
Encountered by: Leon Location: Blackthorn Station tunnels
Plant 43 has a main bulb at the center and two tendrils flanking it on either side. The fight is fundamentally a pattern recognition loop:
- The central head snaps at Leon periodically for moderate damage — dodge laterally
- When the central petals open, that’s your damage window — shoot the exposed bulb
- While it’s stunned, the tendrils slam the ground in sequence — read which side is dropping and move perpendicular
- Once the boss reaches critical health, fuel tanks underneath it are exposed — shoot all of them to trigger the incineration finish
There’s no trick here beyond pattern discipline and not overcommitting to the damage window when the tendrils are still active.
The Commander — Parry or Die
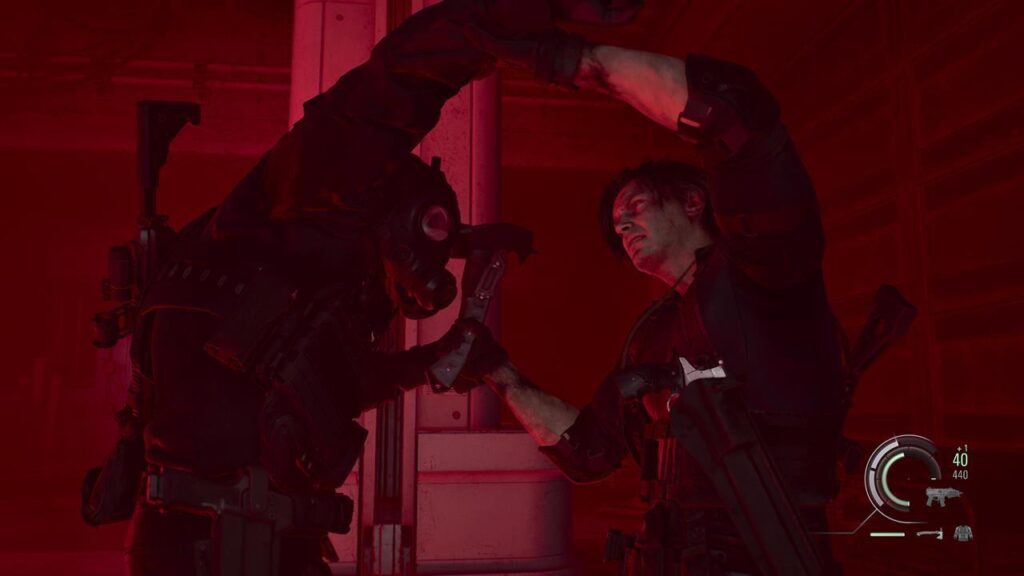
Encountered by: Leon Location: The ARK
Whether this is Hunk or another close-quarters specialist is deliberately ambiguous, but the mechanics are not: this fight is a parry check.
The three phases break down as follows:
Phase 1: Pure parry timing. Deflect his strikes to create openings, then follow with your own slashes or shots. Getting greedy with your counterattacks will get you killed.
Phase 2: He deploys smoke grenades and ruptures a steam vent to mask positioning. He’s still incoming — maintain defensive posture and read audio cues for his strike direction.
Phase 3 / QTE: He grabs Leon by the neck. Pass the QTE sequence cleanly. Fail it and you’ll watch a neck-snap animation that ends the attempt immediately.
❌ Don’t spam attacks during phase 1. The fight rewards methodical parry-and-punish rhythm, not aggression.
Victor — Phase 1: Tentacle and Electricity
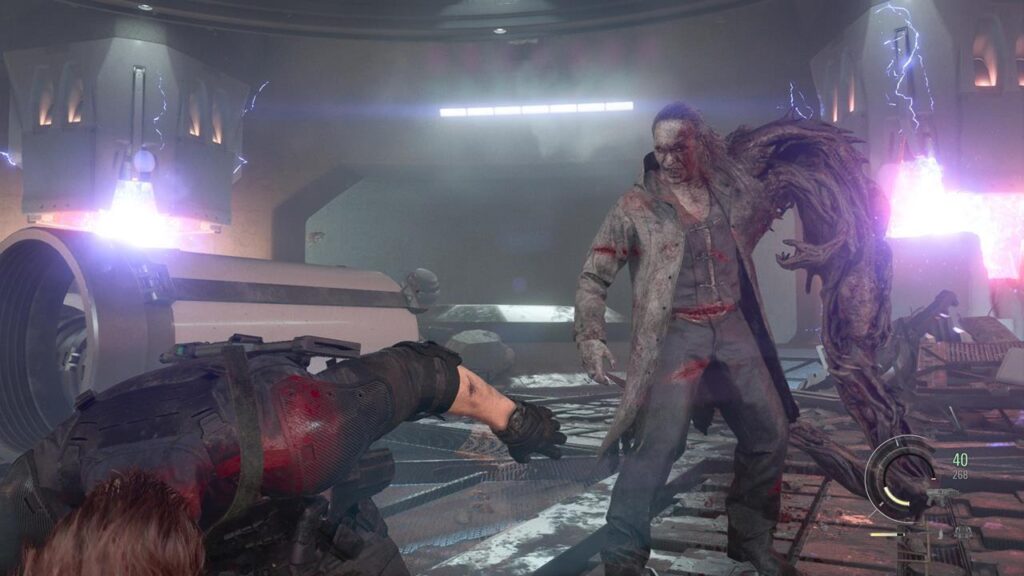
Encountered by: Leon (canon ending route) Location: ARK facility (collapsing)
Victor fights with two primary patterns in phase 1:
- Tentacle lashes — these are parryable with your Hatchet; read the wind-up
- Electricity charge: Victor moves to the arena edge and begins channeling. A glowing line appears on the ground — move off that line immediately. Immediately after the zap, he crashes down on your last recorded position — keep moving through the landing
The key to phase 1 is that you’re never standing still. The arena is collapsing around you, which adds urgency, but the attack windows are consistent.
Victor / Nemesis — Phase 2: Pustule Priority
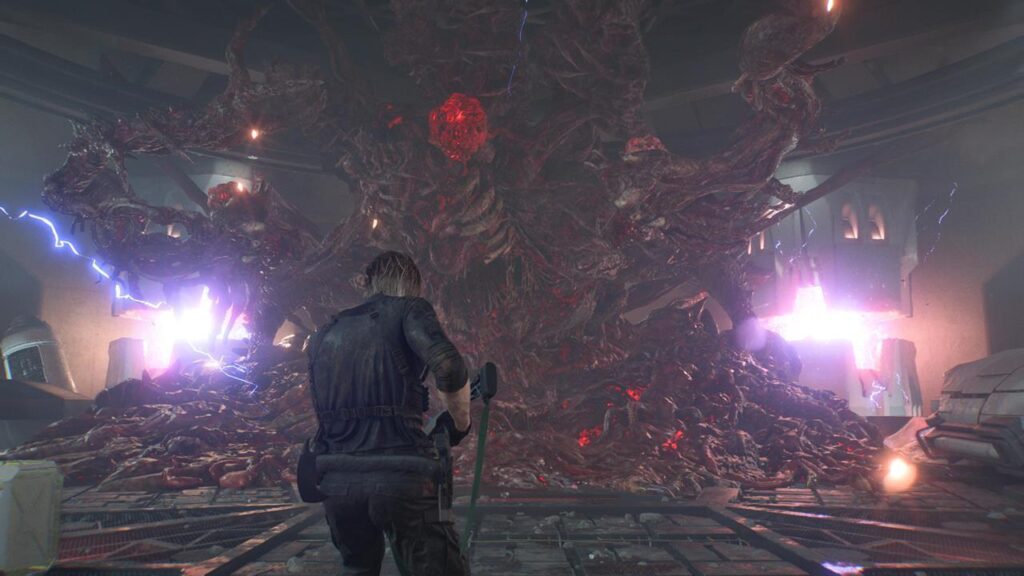
Victor’s transformation into a Nemesis-class monstrosity shifts the encounter into more familiar Resident Evil 3 territory for series veterans.
Attack pattern:
- Primary damage comes from massive arm ground pounds — lateral movement handles these
- Glowing pustules appear across the head, body, and arms — these are your targets; shooting them forces a stagger
Damage rotation:
- Shoot visible pustules until stagger triggers
- After stagger, secondary pustules appear at the base — use a Stacked Grenade or sustained automatic fire to destroy these quickly
- Repeat until the QTE triggers
The finish: Victor/Nemesis grabs Leon. Pass the QTE to break free, then respond to the button prompt to land the Hatchet strike to its core. The cutscenes handle the rest.
FAQ
Q: Is Zeno a boss fight in Resident Evil Requiem?
A: Technically yes, but the encounter plays out entirely as a cutscene in the game’s alternate ending. There’s no player-controlled fight sequence against Zeno — it’s a narrative payoff rather than a mechanical encounter.
Q: Can you skip The Girl encounters or are they forced?
A: The early encounters in the Nurse’s Station and Basement are scripted sequences you navigate through rather than skip. The Water Treatment Facility fight is the one meaningful moment of player agency — and the only way to permanently remove her from the campaign.
Q: What’s the most efficient weapon for the Blister Borne?
A: Shotgun, directly to the tumor clusters. The Blister Borne’s body is resistant to most other approaches, and trying to stagger it through body shots alone is a significant ammo drain.
Q: Does parrying work against Victor in phase 1?
A: Yes — his tentacle lash attacks are parryable with the Hatchet, same as the Commander fight. Phase 2 requires a different approach focused on pustule targeting rather than parrying the arm slams.
Q: What happens if you don’t kill Chunk as Grace?
A: You can bypass the encounter entirely. Chunk’s kill is optional for Grace — though completing it nets the Eye Spy charm and sets up the 4x Antique Coin drop mechanic on reload. From a progression standpoint you won’t be blocked, but you’ll miss out on one of the more useful early charms.
