

What makes Station 89 stand out is the constant pressure: you’re dealing with radiation buildup the entire run, and it features one of the most punishing lock-ins in Challenge Mode over 20 enemies on solo. If you’re looking for an “easy farm,” this isn’t it. But if you can clear it consistently, it becomes one of the better proof-of-build stations for late-game.
Estimated time: 25–30 minutes
Overall difficulty: Hard
Core challenge: 2 lock-ins + boss
Testing Station 89 Layout Overview
Station 89 is fairly linear:
- Entry corridor with multiple side doors
- Lock-in Room 1
- Mid progression with color ID gates
- Lock-in Room 2 (the “20+ enemies” room)
- Final corridor → Boss Room
The route is simple. The difficulty comes from attrition (radiation) and enemy volume.
Preparing for Testing Station 89 (Radiation)
You’ll feel undergeared here if you treat it like a normal station. Prep matters.
Must-have items
- Radiation Suit MK6 (non-negotiable for consistent clears)
- Cutteray (there are many Cutteray-locked doors)
- Bandages and/or Medkits (you can find some inside, but don’t count on it)
- Gear with solid durability (long fights + lots of enemies)
- Enough water in your Literjon to stay optimally hydrated (stamina helps with kiting)
Strongly recommended for higher difficulties
- Iodine Pills (especially for the boss fight and the second lock-in)
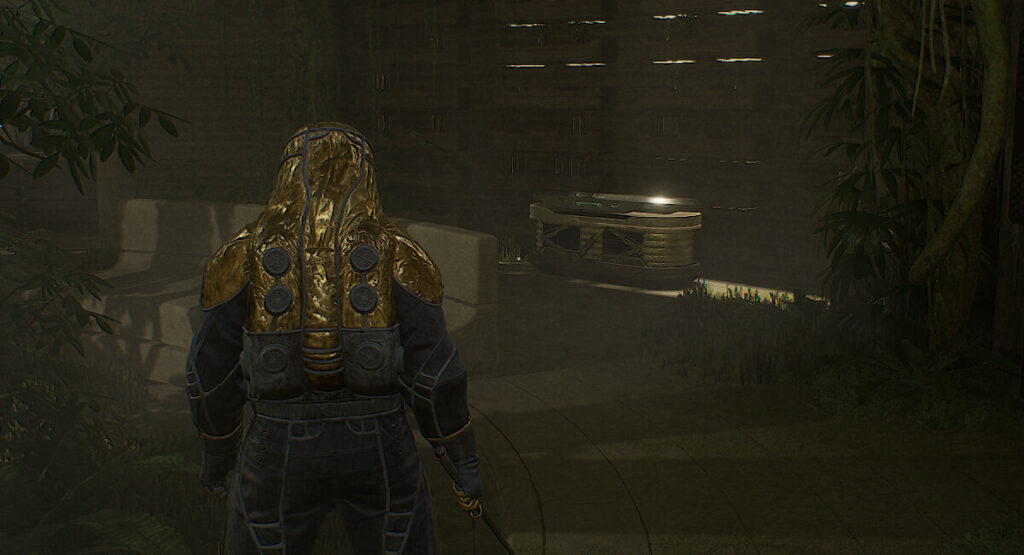
Walkthrough — Section 1 (Up to and including First Lock-in)
- Enter the station and move down the entry path.
- Grab the Blue ID Band, then pass through the first blue shield door.
Corridor loot routing (don’t waste time)
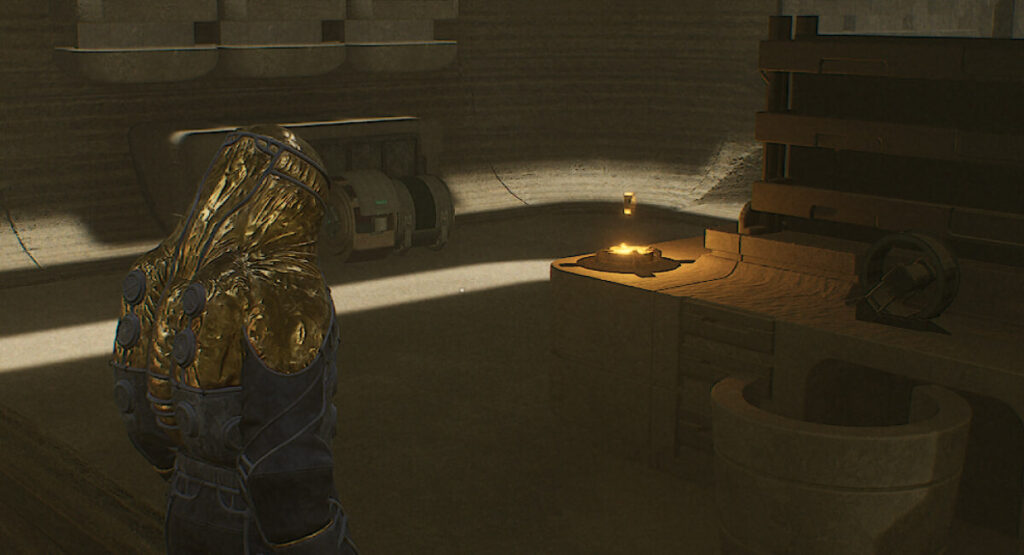
There are several Cutteray-locked doors here, but only a few are worth your time:
- The first door straight ahead
- The first and last door on the right
These contain the meaningful chests—everything else is mostly a time tax unless you’re desperate for supplies.
Lock-in Room 1 (easy)
This lock-in is quick:
- Start: kill 2 enemies
- Then: one wave of 3 enemies spawns
Optional loot room (recommended)
After the first lock-in, there’s an optional room behind a blue shield door with a medium chest that often includes strong materials/resources. If you’re not speedrunning, it’s worth the stop.
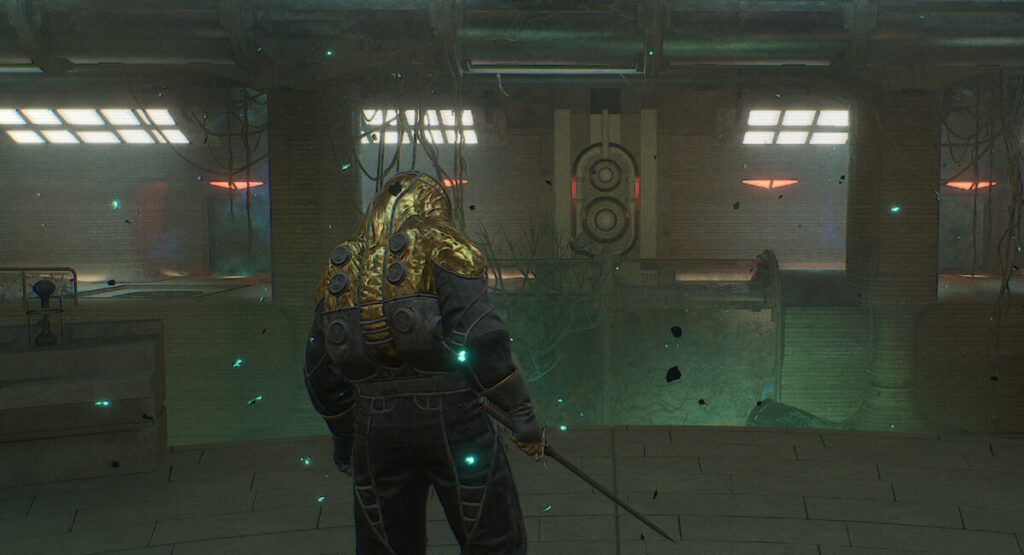
Walkthrough — Section 2 (Up to and including Second Lock-in)
- Enter the next room and go through the Cutteray-locked door.
- Clear the two enemies inside.
- Go through the next Cutteray door to grab the Orange ID Band.
The Orange band lets you open the orange shield door, which leads directly into the hardest lock-in in the station.
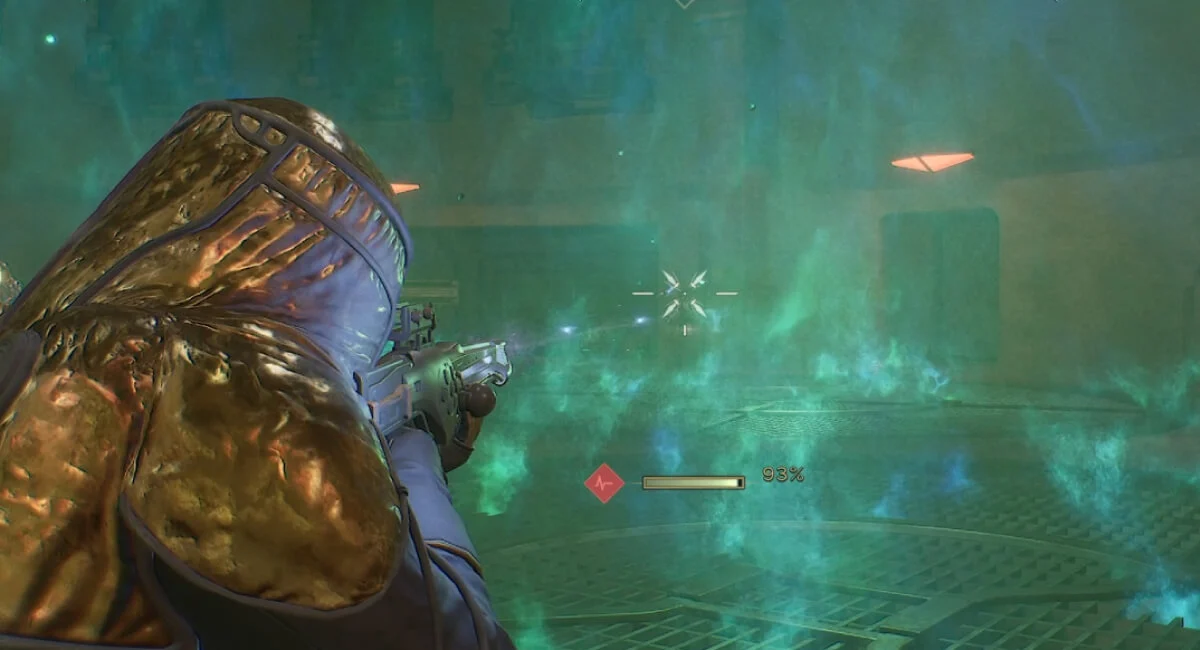
Lock-in Room 2 (the brutal one)
This is one of the longest/hardest lock-ins in Challenge Mode:
- 5 waves
- Roughly 20 enemies total on solo
The biggest advantage here: enemies spawn from one side only
- Spawn side is typically left as you enter (upper floor)
Best positioning strategy
- Take the opposite upper floor and hold it
- Peel melee enemies first so you don’t get rushed
- Use the height/angle to keep line-of-sight clean and reduce chaos
Radiation pressure warning
Even if your positioning is perfect, the room is irradiated. You can play slow—but you can’t play forever.
- On higher difficulties, plan to pop an Iodine Pill here if your radiation is climbing too fast.
Once cleared, push onward to the final encounter.
Boss Guide — Lieutenant Aman (Testing Station 89)
Overview
Lieutenant Aman is a fight that ramps up quickly but becomes manageable once you commit to the correct style:
- Maintain range
- Keep moving
- Kill adds on spawn
- Don’t get trapped in “collapse grenade” chain-stuns
The arena progressively becomes more dangerous due to radioactive pits activating each phase, effectively reducing your safe space.
Why ranged builds shine here
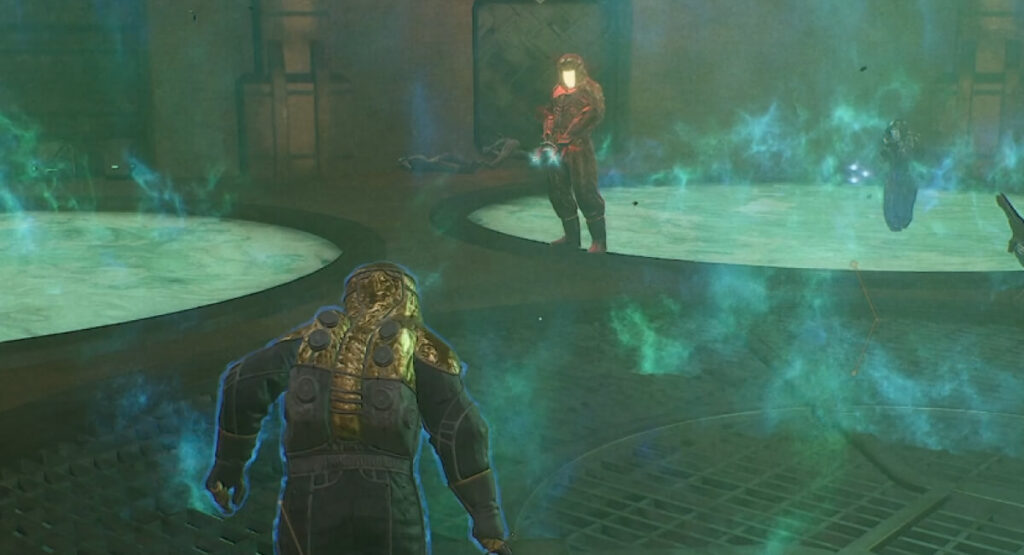
Aman’s projectile speed is slow enough that with distance you can often walk-strafe dodge while firing. If you try to face-tank or fight too close, you’ll eat unnecessary hits and lose control when adds arrive.
Biggest real threat: the adds
Adds spawn roughly every 25–30 seconds, increasing in number as phases progress. If you fall behind on adds, you get overwhelmed fast.
Phase 1: Basic abilities (full arena)
- Aman’s core mechanic is Collapse Grenade
- If you get pulled/stunned, dash out as soon as you can
- Adds: 1 add spawns every ~25–30 seconds
- Deal with it immediately at range
- Adds can also use Collapse Grenade
Goal: build a rhythm—boss damage between add spawns.

Phase 2: Two Radioactive Pits + 1–2 adds
- Two pits activate, creating extreme radiation zones
- Even brief contact can spike your radiation
- Adds: 1–2 every cycle
Kill them immediately so you don’t lose spacing options.
Phase 3: Four Radioactive Pits + 1–2 adds
- Two more pits activate (now four)
- Adds: remains 1–2
At this stage, safe kiting lines get tighter—don’t cut corners.
Phase 4: Six Radioactive Pits + 2 adds (danger spike)
This is where most solo runs fail on higher difficulties:
- Pits increase to six
- Adds become consistently two per cycle
If you cannot clear adds before the next spawn window, the fight snowballs.
Key threat: Collapse Grenade chains
Because both Aman and adds can spam it, you can get chain-stunned and die extremely quickly.
Play rule: if two adds are alive, you’re in danger—prioritize them over boss DPS.
Phase 5: Seven Radioactive Pits + 2 adds (final squeeze)
All pits are active, so the arena is heavily restricted and your radiation level is likely already high.
At high difficulty, you may have to make a decision:
- Safe method: keep clearing adds, slowly burn Aman down
- Greedy method: ignore adds briefly and “nuke” the boss
- This can work if your damage is high enough, but you’re on a timer before adds overwhelm you
Loot Notes (why run Station 89?)
Station 89 is not the fastest clear, but it’s valuable if you want a high-pressure Challenge Mode run that tests:
- Your sustain (meds/water management)
- Your add control
- Your ability to kite under arena denial
If you can farm this station reliably, most other stations will feel significantly easier.