

What is the Controlled Access Zone in ARC Raiders?
Controlled Access Zone is a locked area on the Dam Battlegrounds map, introduced with the Shrouded Sky update. The entire zone is packed with containers full of valuable loot — but the real jackpot waits behind two locked doors that won’t open without solving the puzzle first.
Unlike the puzzles on the Blue Gate map, this one can’t be completed solo or with your own team. It requires coordination with other friendly raiders directly in the lobby — which makes it one of the most unique pieces of content ARC Raiders has delivered so far.
You might be wondering: Why isn’t solving it with your own trio enough? Simple reason — the puzzle requires four buttons pressed at the same time. Three players won’t cut it.
Preparation: How to Set Up the Raid Correctly
Before jumping into the puzzle itself, you need to set the right conditions for the raid.
Recommended steps before entering:
✓ Launch the raid solo — not in your own party
✓ Join a PvE friendly lobby
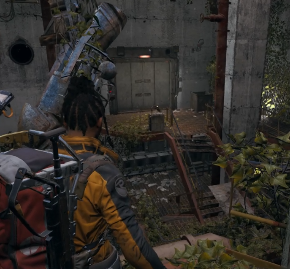
✓ The zone has three different entrances marked on the Dam Battlegrounds map
✓ On your way to the zone, use proximity chat to recruit three other raiders willing to cooperate
💡 Pro tip: Duos and trios lobbies are naturally PvP environments. Going in solo through a PvE lobby dramatically reduces the risk of getting eliminated before the puzzle even starts — and makes other raiders far more willing to cooperate since they have no reason to see you as a threat.
❌ Common mistake: Entering the raid as a full trio and then wondering why the puzzle can’t be completed. Four buttons, four different players — this is a hard requirement, not a suggestion.
Step 1: Finding the Battery and Activating the Terminal
Once you’re inside the Controlled Access Zone with three other willing raiders around you, the first objective is straightforward — find the battery.
Where to look for the battery:
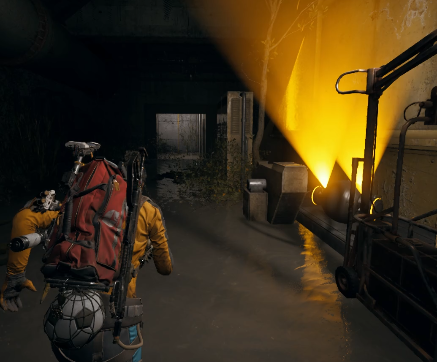
- Most commonly near the generator in the connecting room
- Alternatively in the open area of the zone that isn’t covered in overgrown vegetation
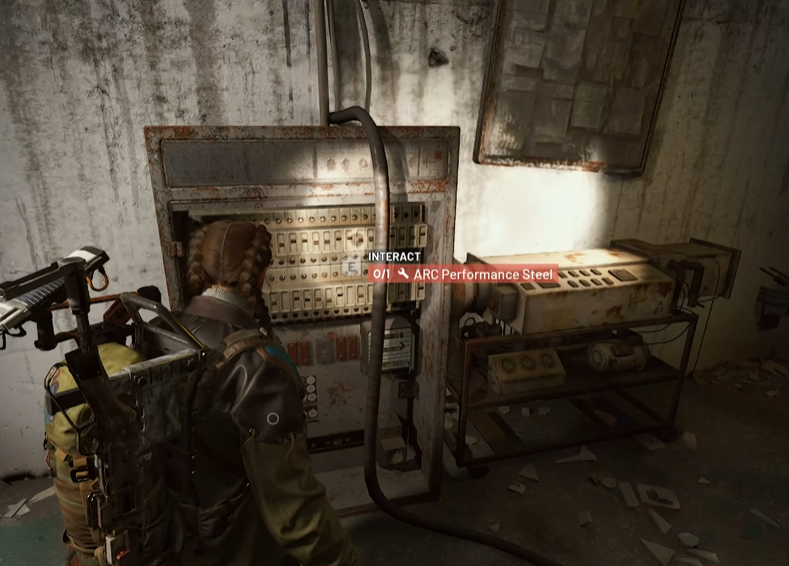
Once found, insert the battery into the panel opposite the main office on the upper floor. This unlocks access to the office and activates the entire button system.
Step 2: Locating All Four Buttons
Two buttons have a fixed, static position — you can count on these every single run:
| Button | Location |
|---|---|
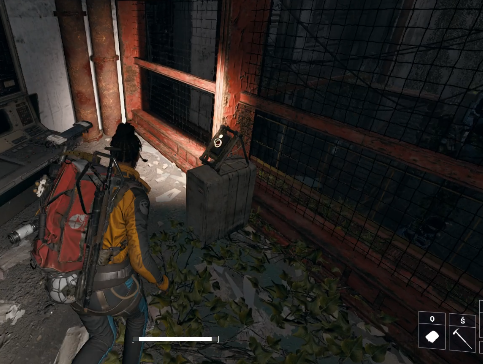
| Button #1 | Inside the main office with windows overlooking the area — accessible after inserting the battery |
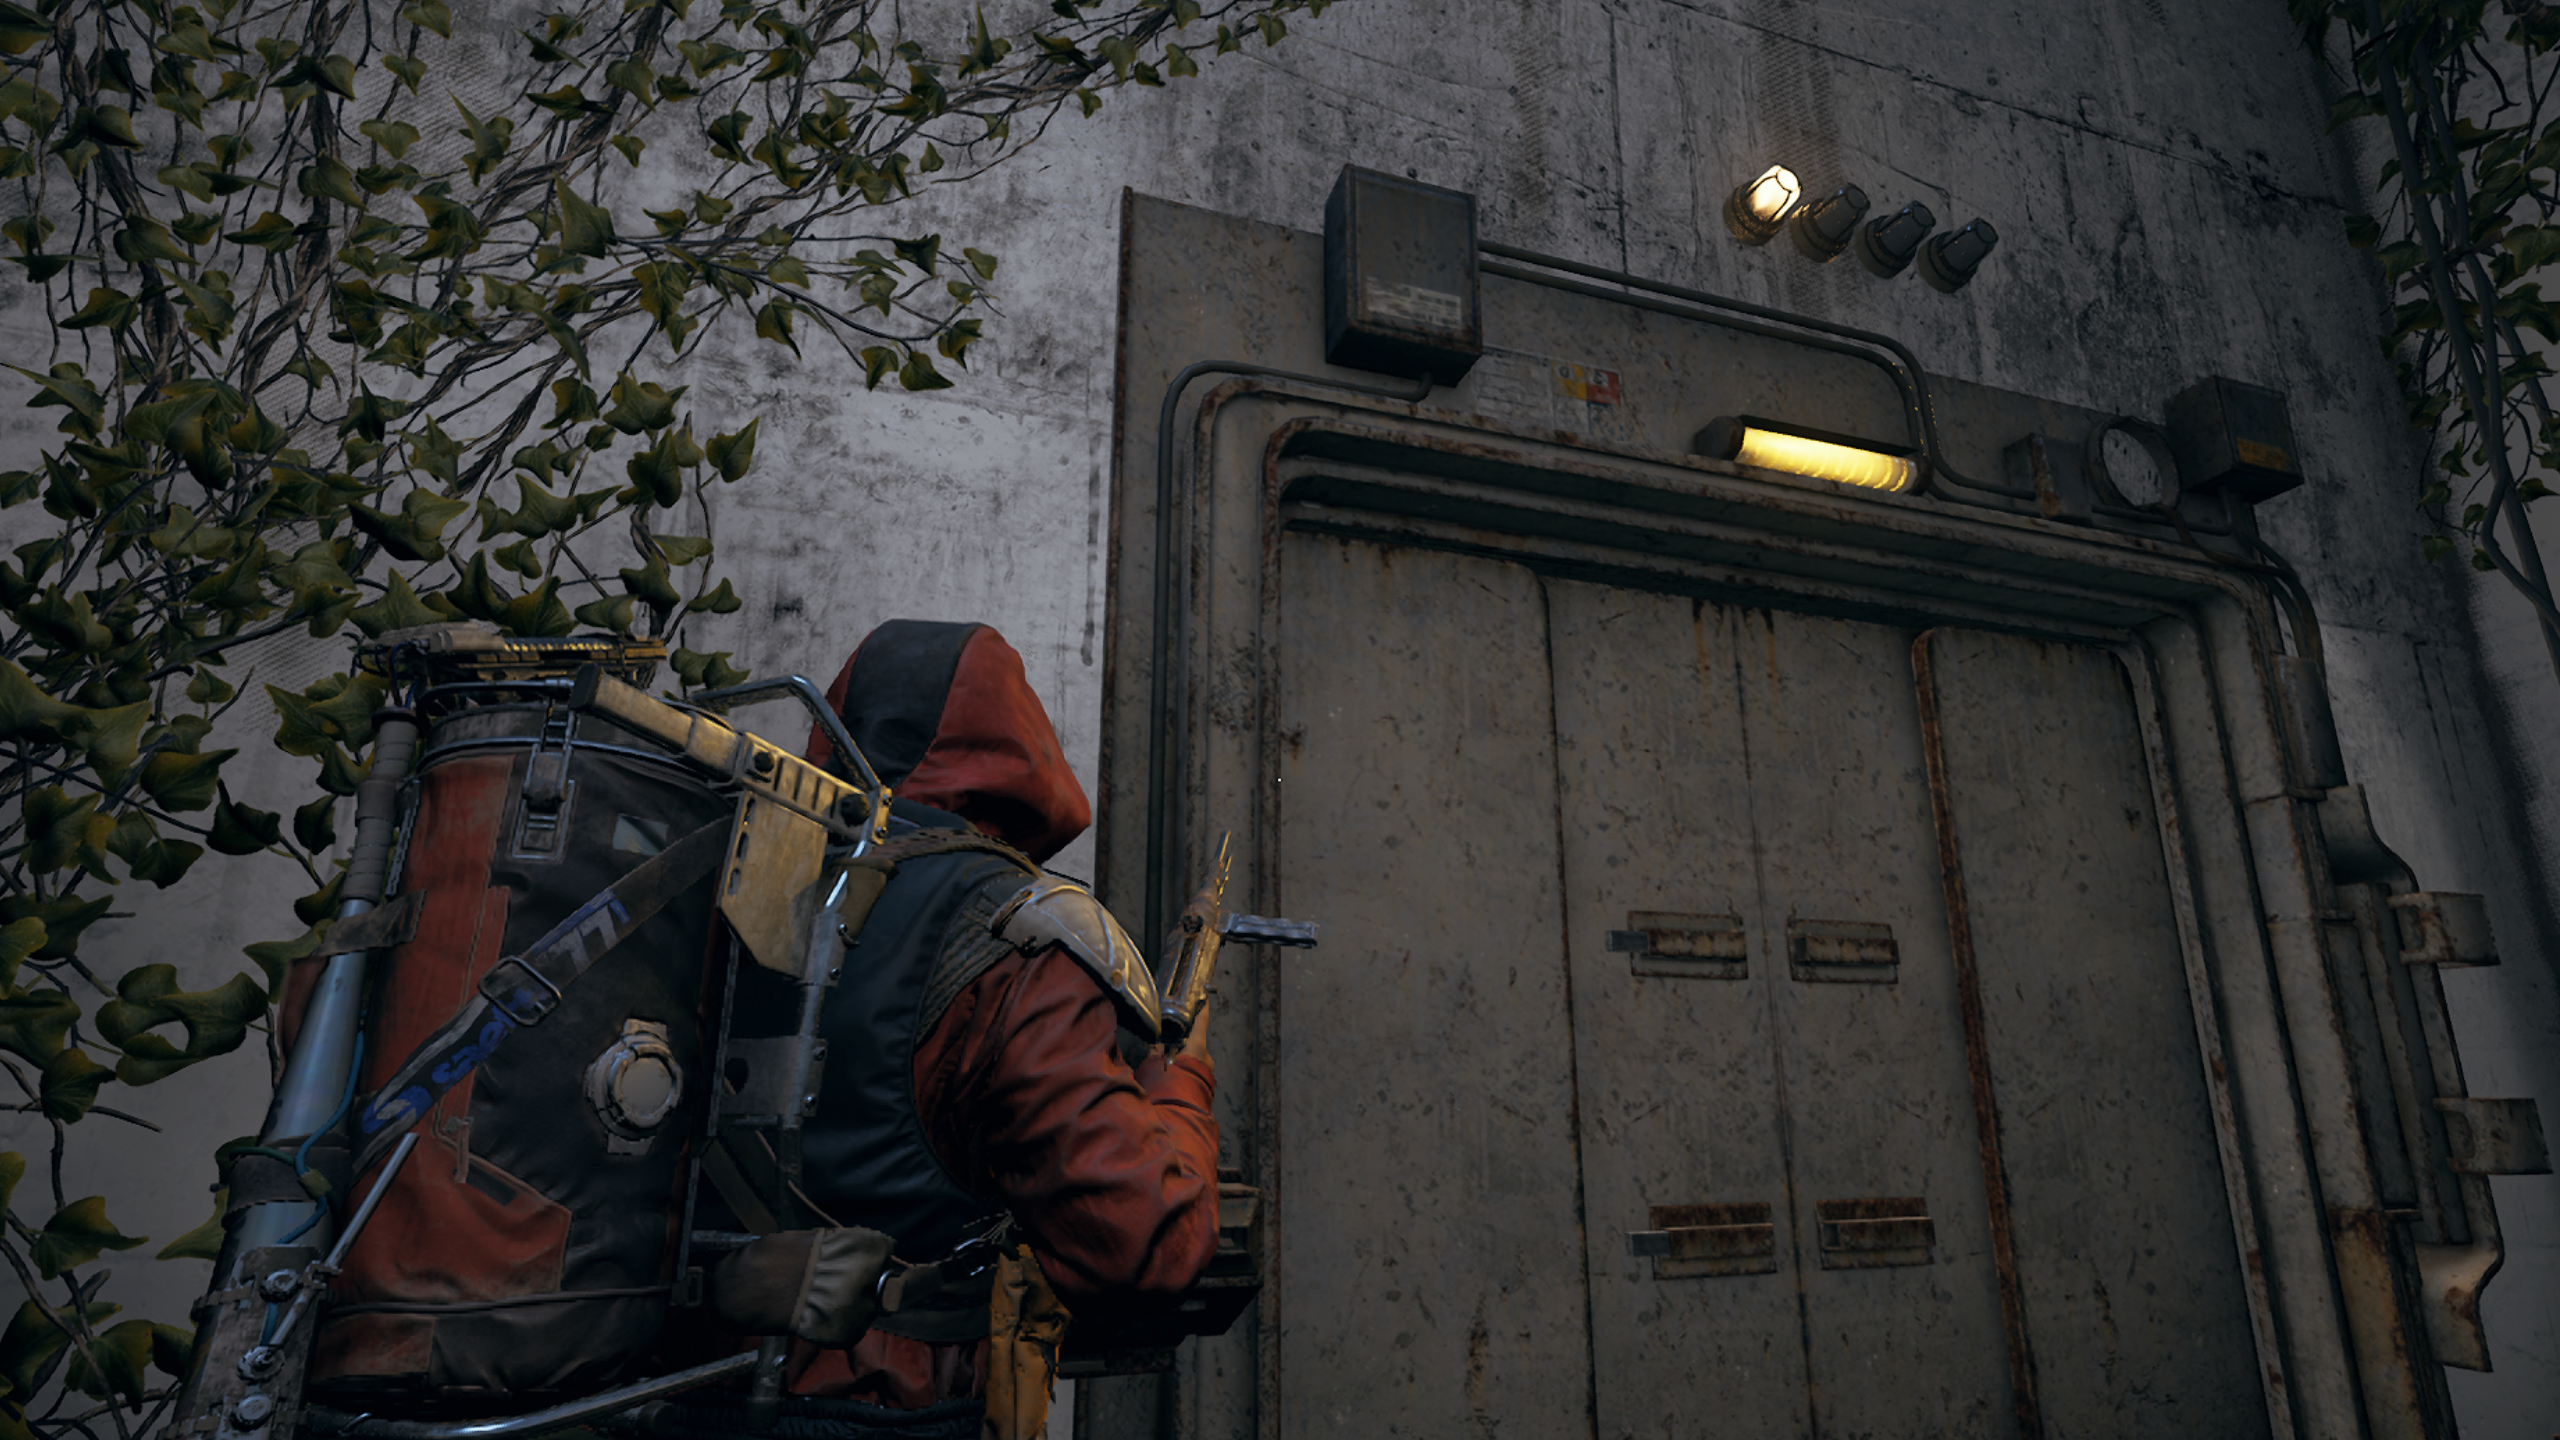
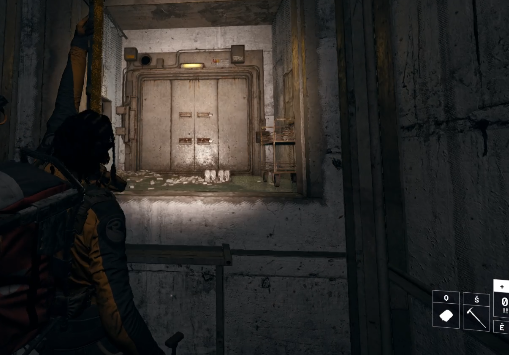
| Button #2 | To the left of the locked door with four lights on top |
| Button #3 | Against the wall right next to the generator |
| Button #4 | Near the staircase on a pipe above the door |
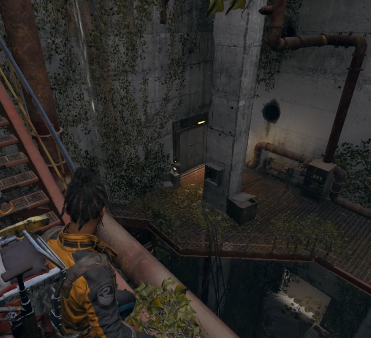
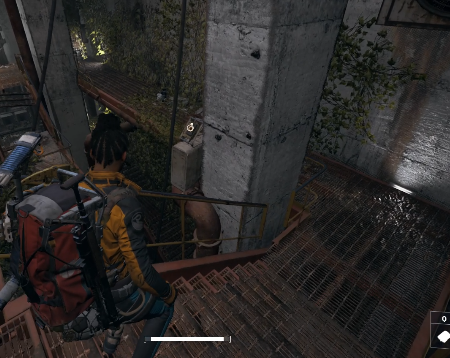
The remaining two buttons are located near staircases or on metal pipes around the zone. Compared to the Blue Gate puzzles, they’re noticeably easier to spot — you won’t spend minutes wandering around trying to find them.
💡 Pro tip: Before anyone touches a button, assign them between yourselves out loud via proximity chat. One raider — one button. Chaotically shared buttons are the single most common reason the first attempt fails.
Step 3: Simultaneous Press — Opening the First Door
This is the moment everything has been building toward.
On an agreed signal — the classic 3, 2, 1 countdown — all four players press their buttons at the exact same moment.
How to know it worked:
✓ All four lights above the door light up
✓ The door opens
⚠️ Warning: Even a small timing gap will invalidate the press. If the lights flicker but the door stays shut, just try again — there’s no full puzzle reset required.
Step 4: The Second Door — Material Challenge
Opening the first door isn’t the finish line. Inside the unlocked room, a second locked door waits — and this one requires specific materials to open.
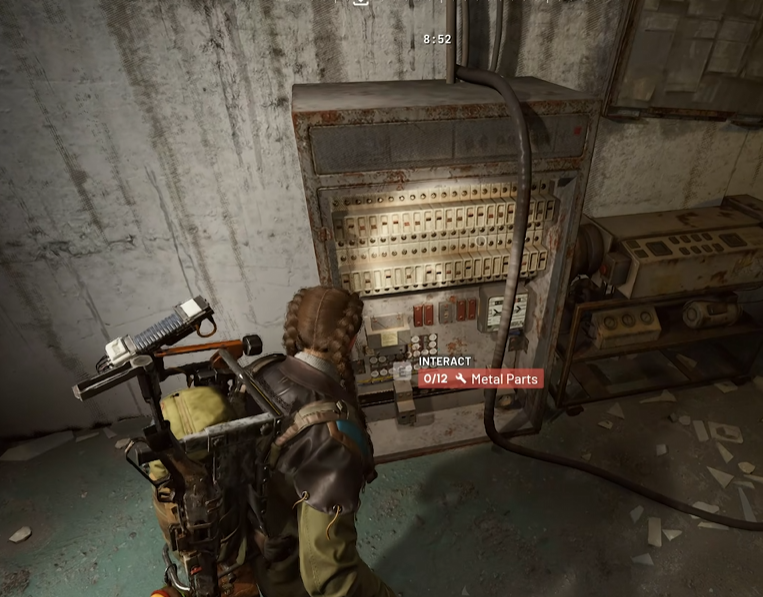
Materials are randomized each run, but from personal experience the most common requirements include:
- 🔧 Wires
- ⚙️ Metal Parts
- 🔩 Motor
- 🔋 Industrial Batteries
- ⚡ ARC Powercells
- 💥 Leaper Pulse Unit
Once you have the required materials, use them on the panel to the left of the second door. It opens, and the loot room is yours.
What’s Waiting Inside the Loot Room?
Behind the second door is a spacious room with loot spread across two floors:
Lower floor:
✓ Weapons on control panels
✓ Breachable containers
✓ Weapon crates
Upper floor (via staircase):
✓ Additional loot for the entire party
✓ Enough space for all four raiders without crowding
📊 The loot room is designed to reward all participating raiders fairly — if you promised an even split going in, this is where you deliver on it without any issues.
Extraction — The Final Threat
After clearing the loot room, one thing remains: getting out alive.
❌ Common extraction mistakes:
- Underestimating campers waiting at extraction points — this zone draws attention
- Overloading your inventory with loot at the cost of mobility
- Leaving the party without coordination — solo extraction at this point significantly increases risk
✓ Recommendation: Coordinate extraction with all four raiders together, or at minimum agree on an extraction point before anyone moves.
FAQ
Q: Can the Controlled Access Zone puzzle be solved with your own trio plus one stranger?
A: Technically yes — you need four players total, so a trio plus one outsider works. However, trio lobbies are PvP environments, which makes finding a reliable fourth player considerably more complicated.
Q: Are the materials for the second door always the same?
A: No, the list is randomized each run. It’s worth keeping a stockpile of common crafting materials before entering the zone so you’re not dependent on finding them inside.
Q: What happens if one player doesn’t press the button in time?
A: The puzzle fails, but there’s no full reset. Just try again — no need to locate the battery or buttons all over again.
Q: Is the Controlled Access Zone available in every raid?
A: Yes, the area has been a permanent part of Dam Battlegrounds since the Shrouded Sky update.
