1) Find the Harvester Event and Get Set Up
The Harvester isn’t always available. It rotates in as an event rather than a permanent location, so planning matters.
- Check the map: Watch for the “Harvester” event marker on the main map. It typically stays active for a couple of hours.
- Watch event times: You can track the rotation at the top of your Arc Raiders pages (where you list event timings).

The Queen (and why you don’t need to fight her)
The facility is guarded by a world boss known as the Queen. Good news: you don’t have to kill her to start the puzzle.
- The safest approach is patience: wait until the Queen turns away and patrols off from the structure.
- Stay alert there may be other ARC units roaming the area too.
- Once it’s clear, head to one of the three identical entrances.
- Interact with the breach door (it takes a short moment to open), then go in.

2) Harvester Puzzle Overview
Inside, you’ll immediately notice:
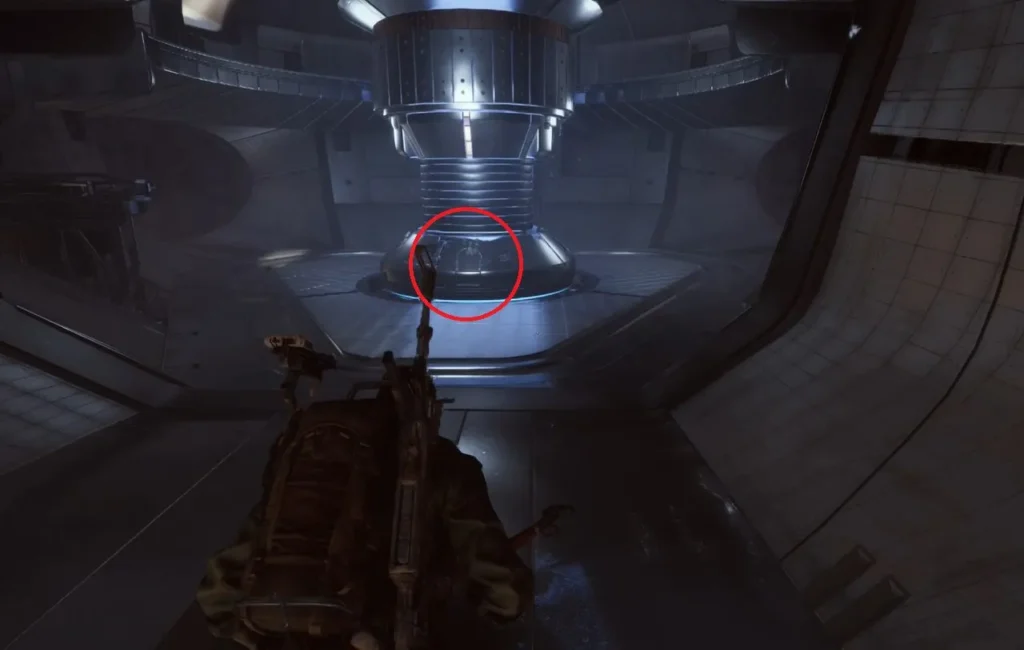
- a large central column/pillar in the middle of the room
- three elevators (one on each wall/side), used to reach the upper platform
From here, the puzzle plays out in two main phases.
Phase 1: Power Cells (Canister Retrieval + Installation)
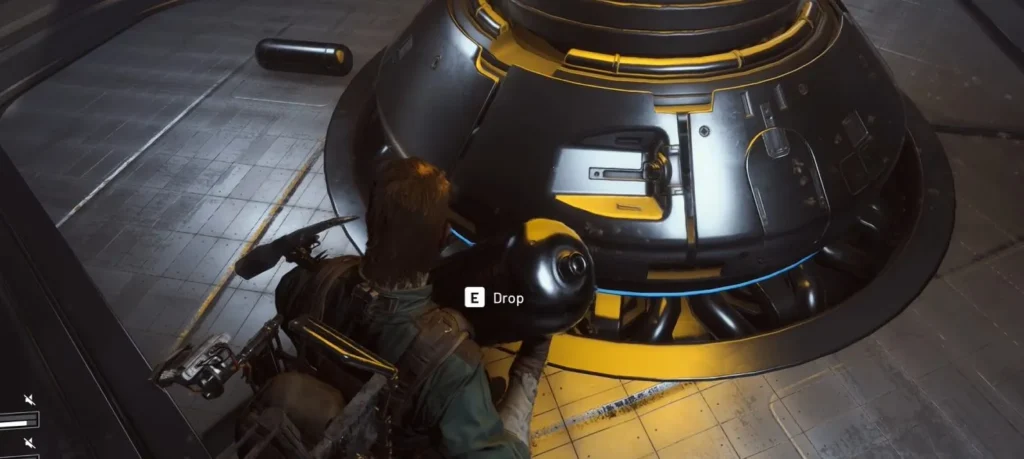
Your first objective is to power up all three nodes by placing three canisters.
Step A — Get all three canisters
- You automatically start with one Power Cell canister when you enter.
- The other two canisters are inside hidden breachable containers on the upper platform (top floor).
- Use the elevator to reach the top, breach/open the containers, and grab both canisters.
Step B — Pre-position the canisters
Once you have all three:
- Move each canister to its matching door and place it nearby.
- This “staging” step matters because it reduces running when the window opens.
While it’s technically doable solo, three players (one per canister) makes this phase dramatically easier to complete within the ~45-second working window.
Step C — Respect the fire cycle
The room periodically enters a fire cycle:
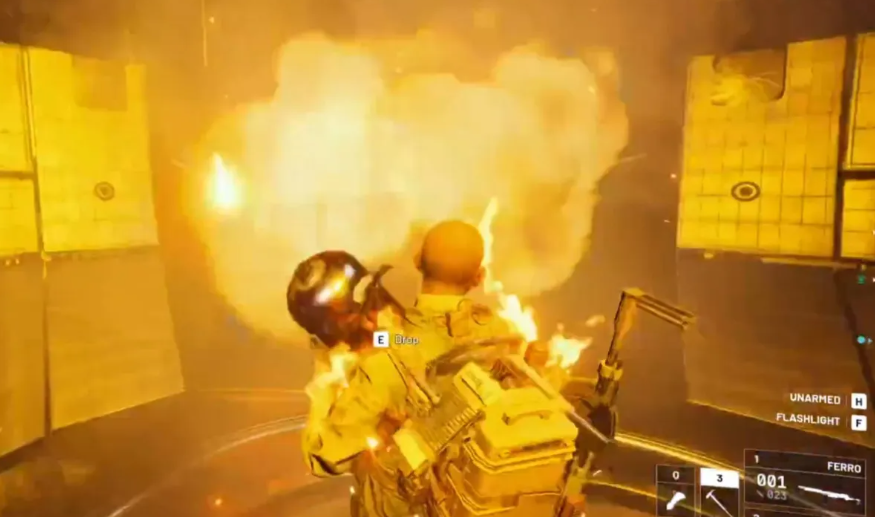
- When the central column lights up yellow, the room is about to fill with fire.
- When you see that warning, leave immediately (run outside) or you’ll get burned.
Step D — Install after the fire ends
As soon as the fire cycle finishes:
- Move back in quickly
- Open the doors
- Insert the canisters into the correct slots (the three canister doors)
Phase 2: Destroy the Yellow Buttons
Once all three canisters are installed, Phase 2 begins right away.
Step A — Shoot the yellow buttons
- Yellow buttons will extend from the walls around the room.
- Your goal is to destroy every button.

What can kill your run here
- Rocket units outside can shoot into the room don’t tunnel vision.
- The Harvester’s fire cycle can force you out mid-phase.
- If you see buttons retract back into the wall, take that as a warning: fire is about to happen get out fast.
If the fire resets your progress
If you don’t finish the buttons before the fire:
- You’ll have to re-insert the canisters into their doors again to make the yellow buttons extend again.
Electric pulses (reload disruption)
During this phase, the Harvester starts triggering pulse charges that can interrupt or mess with reload timing.
- Stay composed and keep pressure on the targets.
- In practice, melee can be surprisingly effective if reload disruption is getting you killed.
Team vs. Solo strategy
- In a trio: assign each player a side and clear buttons fast.
- Solo: expect multiple cycles leave during fire, wait for reset, then re-enter and continue where you left off.
3) Claim the Reward and Extract
Once the last yellow button is destroyed, you’re basically done now it’s about securing the payout and leaving alive.
- Three yellow loot canisters will emerge from the central column with your rewards.
- Rewards can include Legendary Blueprints.
Extraction tip (don’t throw the run)
If you’re not on a free kit and you pull something valuable:
- Immediately move it into your safe pocket so you keep it even if you get downed before extracting.
The Harvester is excellent rotational content: it rewards coordination, timing, and calm execution. Just don’t lose track of the event clock or you’ll end up like MagicStark …